Managing Members
As an admin, you are responsible for who can access your organization and what they can do inside it. This guide covers inviting new users, managing their roles and status, and handling invitations.
Admins inherit all trainer capabilities. Anything a trainer can do, you can do too.
Adding new users
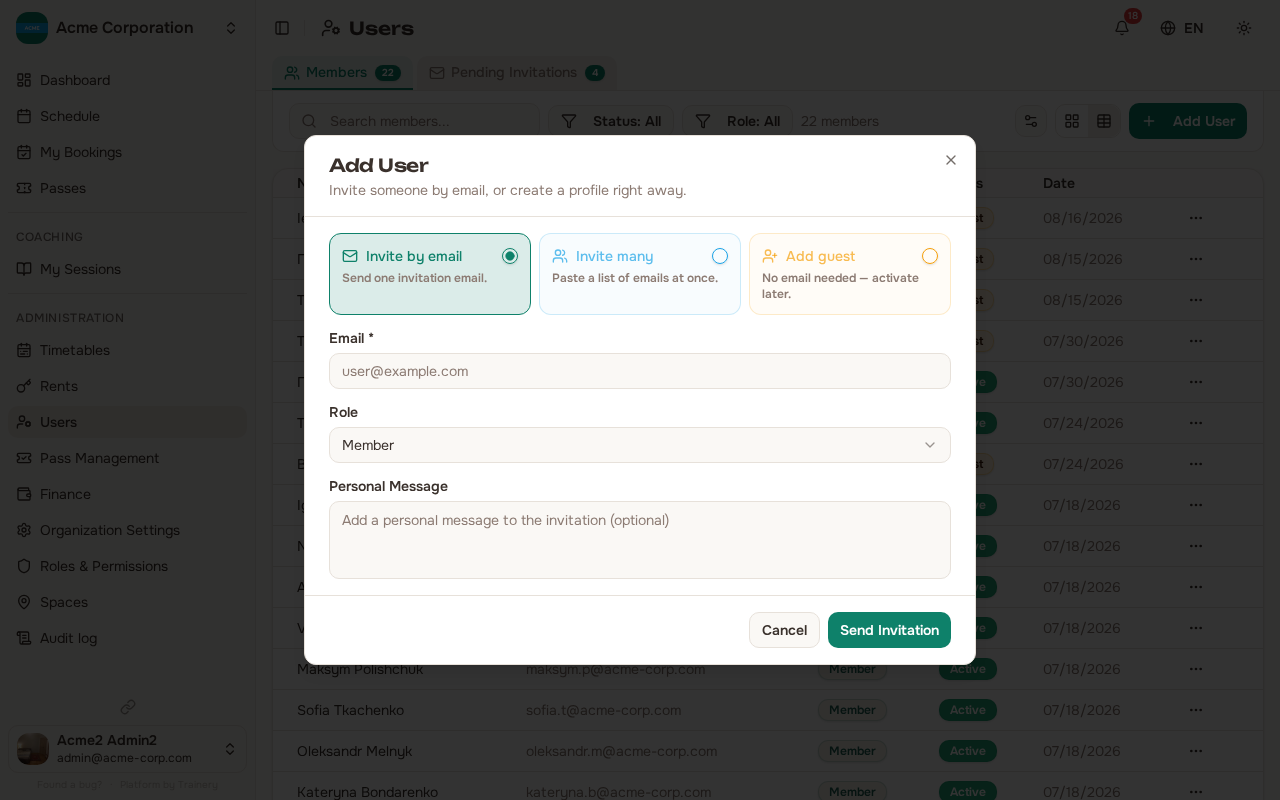
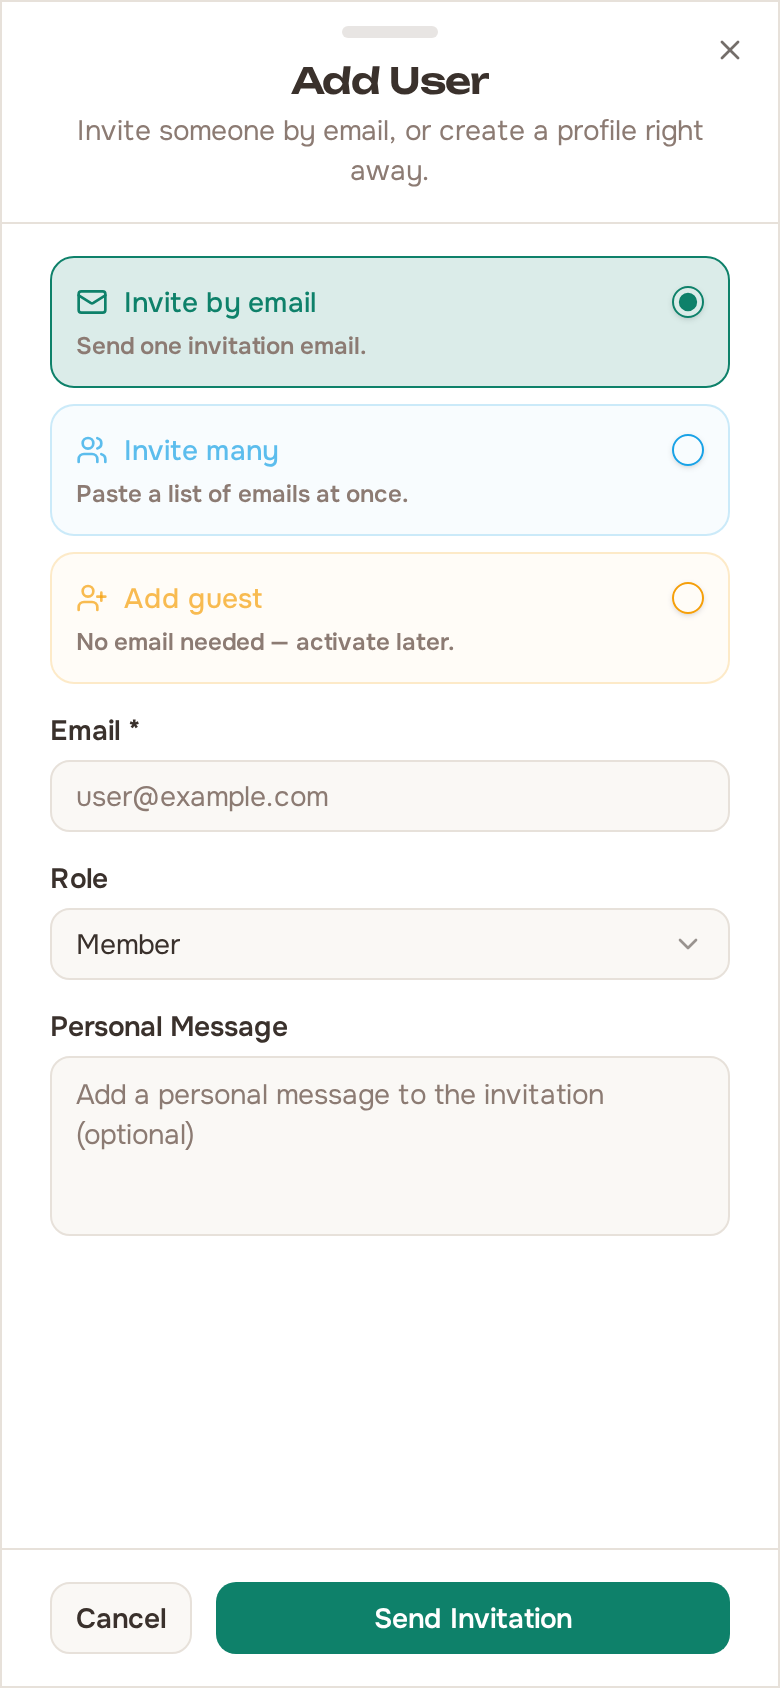
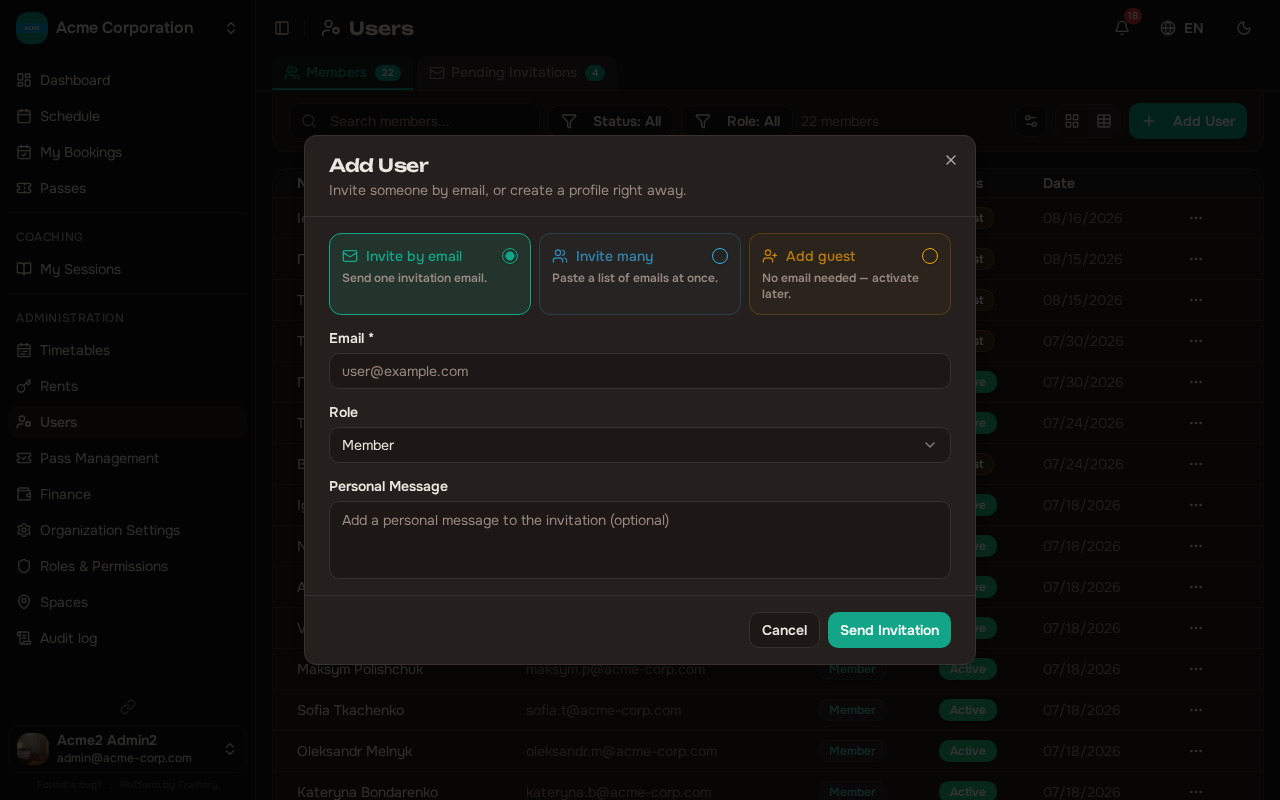
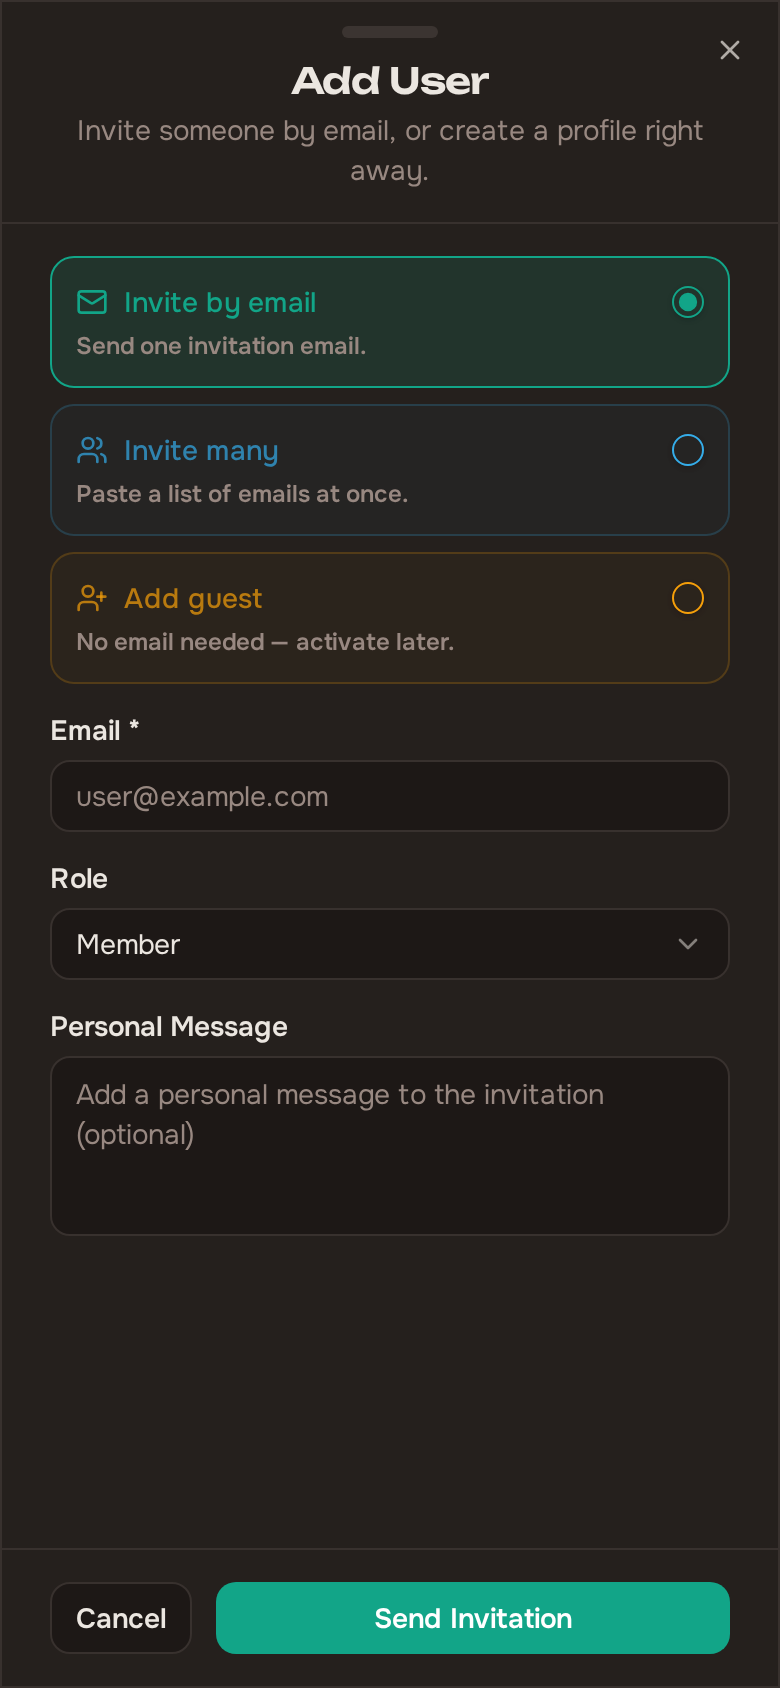
Section titled “Adding new users”Add User in the member management section opens one dialog with three options:
- Invite by email – send one invitation
- Invite many – paste a list of addresses
- Add guest – no email needed, activate the profile later
To invite someone by email:
- Navigate to the member management section and click Add User.
- Keep Invite by email selected and enter the person’s email address.
- Select a role: Member, Trainer, or Admin.
- Send the invitation.
The recipient will receive an email with a sign-up link. Invitations expire after 7 days – if someone misses the window, you can resend it.
You cannot invite someone with the Owner role. Only existing owners can do that. See the Owner guide for details.
Inviting many people at once
Section titled “Inviting many people at once”If you are migrating from another system or onboarding a whole team, the Invite many option accepts a paste of up to 200 emails at once (one per line, comma-separated, or whitespace-separated). The shared role and optional message apply to the whole batch.
Before any invitations go out, you see a review step that classifies each email:
- Will be invited – new addresses that will receive an invitation
- Already invited – addresses that already have a pending invitation. You can opt-in per row (or with select-all) to refresh the 7-day expiry
- Already members – people who already belong to the organization (skipped)
- Invalid – malformed addresses (skipped)
- Duplicates – the same address appears more than once in the paste (skipped)
The send button shows the exact count, and only the rows you confirm get invited. Emails are sent in the background, so the dialog closes immediately even on a 200-row batch.
Adding someone without an email
Section titled “Adding someone without an email”Walk-ins and trial attendees often have no email on hand. Add Guest needs a First name and a Last name – phone is still optional – and the profile can be booked into sessions straight away. It stays a guest profile until the person sets a password.
Two ways to activate it later, both on the member’s profile:
- Add an email and send a setup link – they receive the usual activation email.
- Copy setup link – hand the link over in person (paste it into a chat, or show it as a QR). If you never collected an email, the page asks them for one first and then emails them the activation link, so the address is confirmed by the person who owns it.
Setup links are valid for 7 days, and creating a new one replaces the previous one. Anyone holding the link can activate that account, so share it only with the member it belongs to.
The link opens a real registration form – first name, last name, phone, and a password, plus agreeing to the terms – with the details you already entered prefilled and correctable, and the email shown read-only; whatever the person confirms replaces your name and phone throughout the app.
A guest added without an email or phone cannot be matched against an existing profile, so adding the same person twice creates two entries. Enter an email or phone whenever you have one. The duplicate is at least easier to spot now that surnames are stored separately and same-named members line up next to each other in the list.
Viewing your members
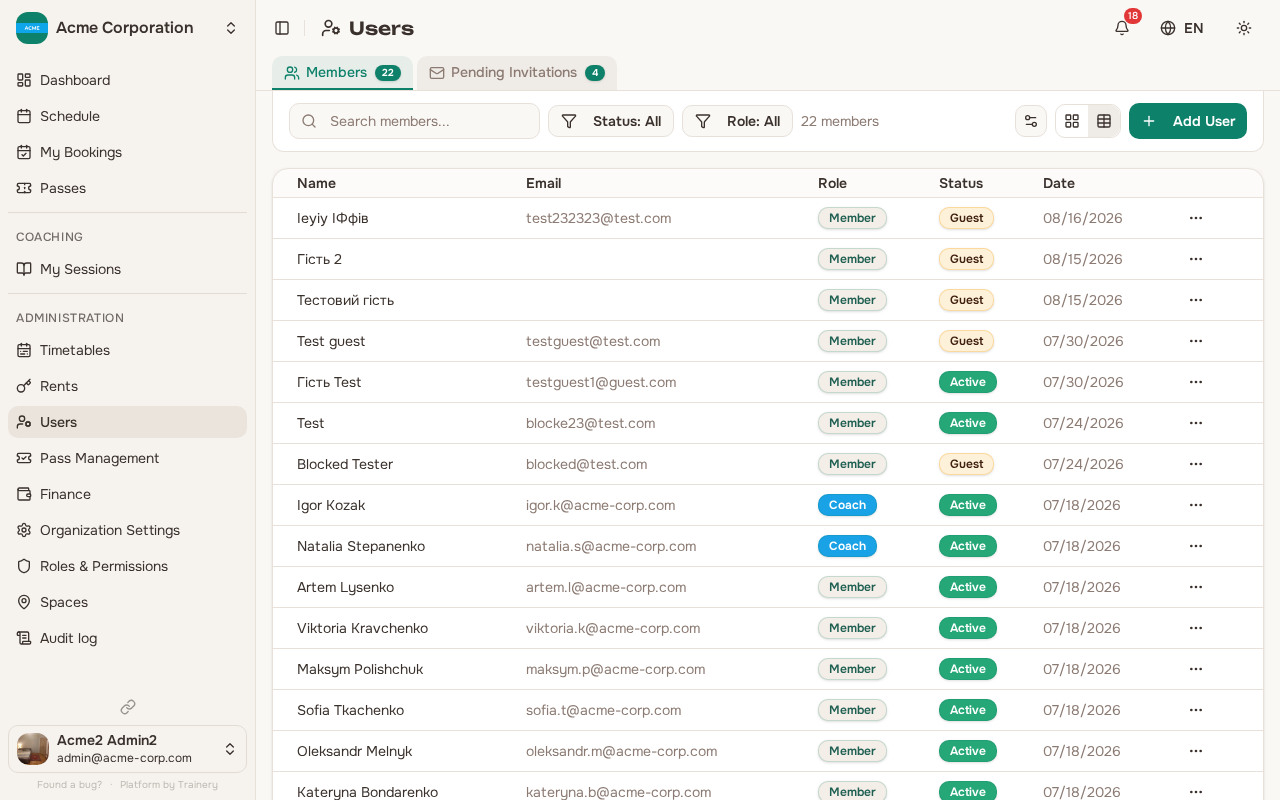
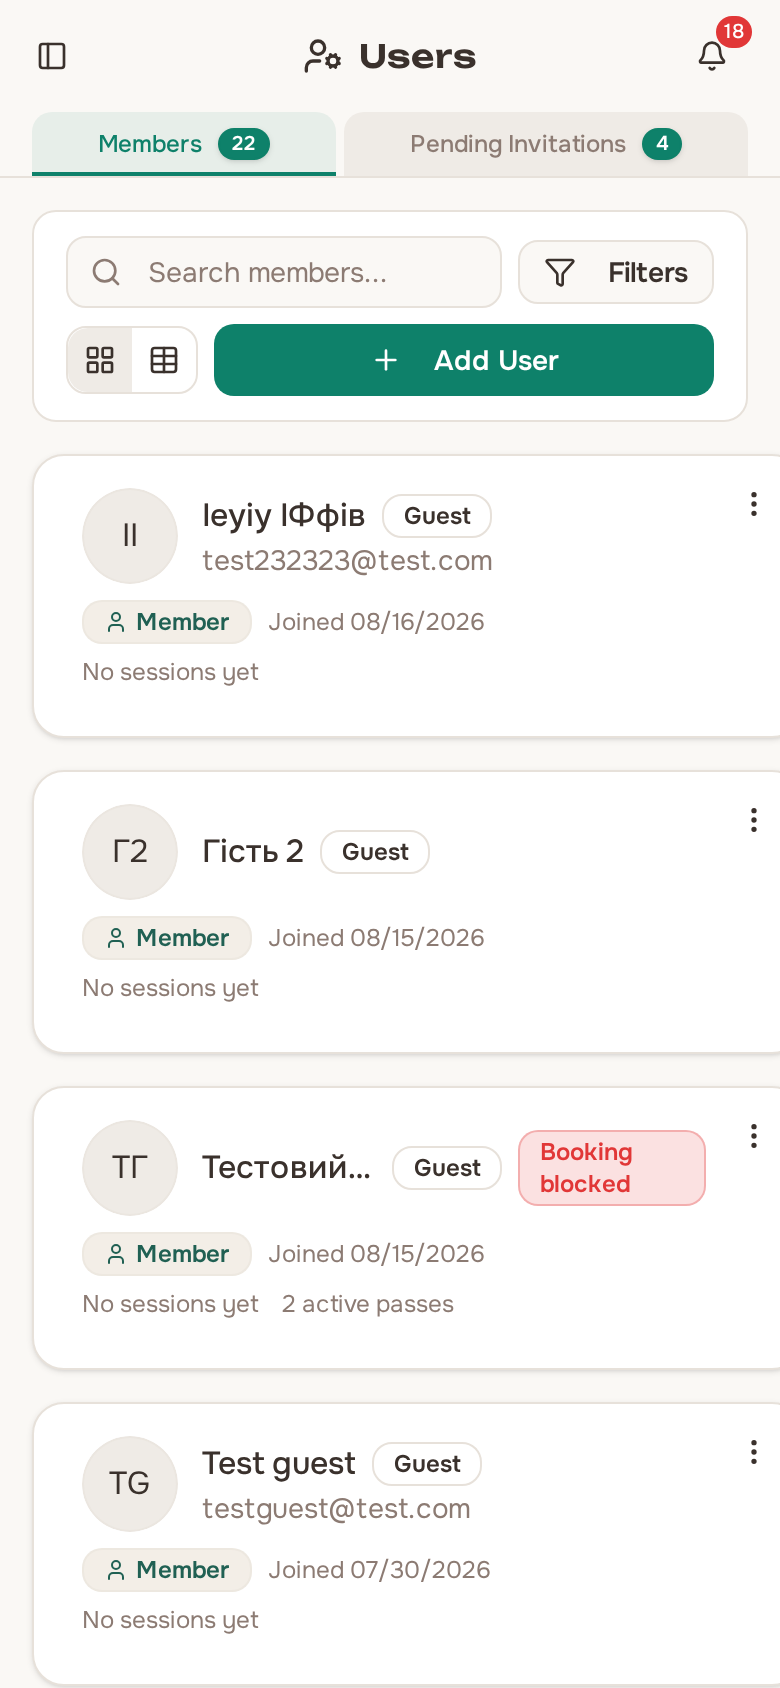
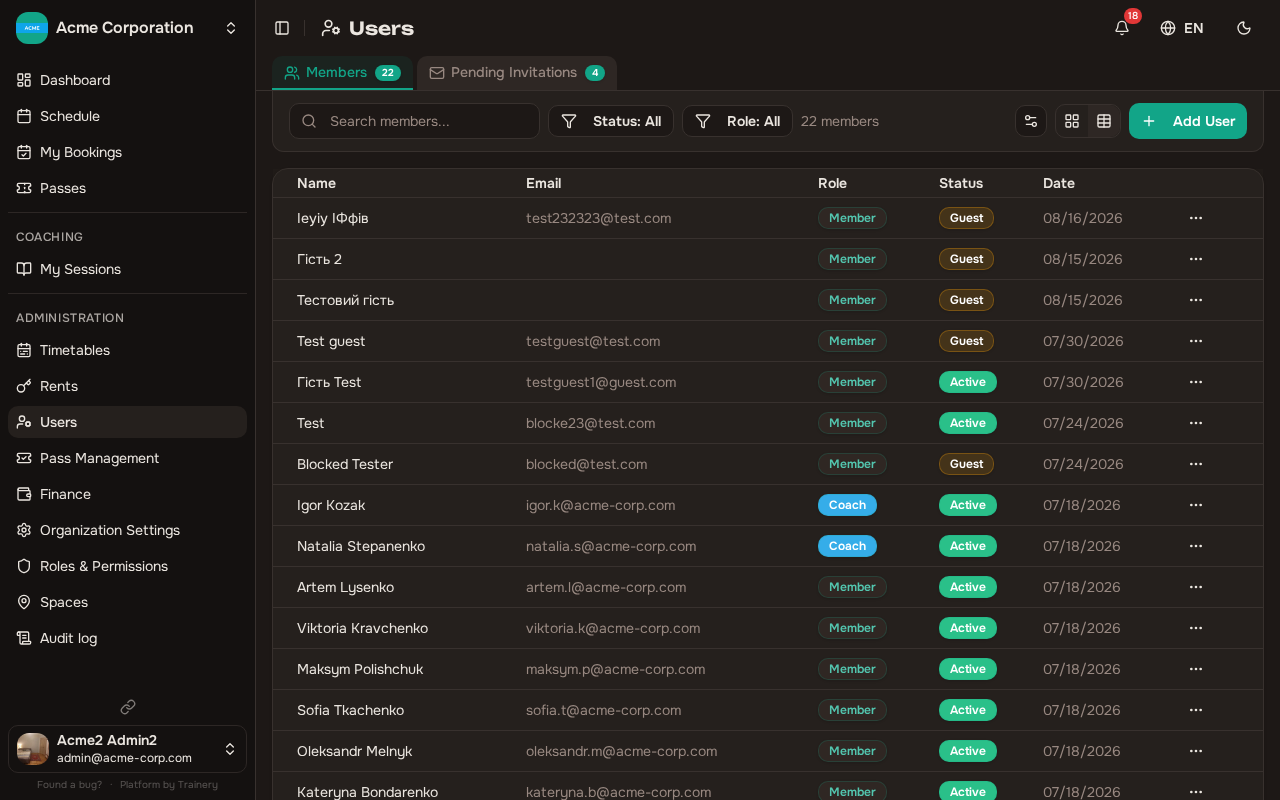
Section titled “Viewing your members”The member list shows everyone in your organization at a glance. For each person you can see:
- Name and email
- Role
- Status (active, suspended, etc.)
- Date joined
Use the filters to narrow the list by status or role. The list is paginated, so large organizations stay manageable.
Search accepts a full name, not just a single word. Every word you type has to match, so typing a first name and a surname together finds exactly that person instead of returning nothing. Searching by one word, an email address or a phone number works as before.
Names on existing records
Section titled “Names on existing records”Members created before names were split into two fields were divided automatically, and records that had been entered surname-first were flipped back to the studio’s given-name-first convention. Anything genuinely ambiguous was left untouched and reported rather than guessed at, so a small number of members may still need their name completed or corrected by hand – open the member’s profile and edit the two fields directly.
Changing a member’s role
Section titled “Changing a member’s role”You can change the role of any member whose current role is below Admin. To reassign someone:
- Open their member profile.
- Select the new role.
- Save the change.
There are a few restrictions to keep in mind:
- You cannot change your own role.
- You cannot change an owner’s role.
- You can only assign roles that are below your own level (Member or Trainer).
Suspending a member
Section titled “Suspending a member”If you need to temporarily restrict someone’s access, you can suspend them. Suspended members cannot log in or interact with the platform until they are reactivated.
To suspend a member, open their profile and set their status to Suspended. You can reactivate them at any time from the same place.
Removing a member
Section titled “Removing a member”Remove from organization revokes their access to the organization. This is a soft removal – the person stops being a member of your studio, their history stays exactly where it is, and the action can be undone.
- You cannot remove yourself.
- You cannot remove an owner.
Deleting a user permanently
Section titled “Deleting a user permanently”Delete permanently is a different action with a much wider reach. It erases the account itself along with every booking, pass and rent attached to it – in every organization the person belongs to, not only yours. Any files they uploaded, including their avatar, are cleaned up too.
Because of that reach, it is deliberately hard to trigger by accident:
- You must type an explicit confirmation naming the person before the button becomes available.
- There is no undo window. Unlike removal, nothing can be restored afterwards.
- Only Admins and Owners can do it.
Once it completes, the person disappears everywhere at once: member lists, trainer pickers, studio statistics, and every attendee list they appeared on.
If you only mean to retire someone – they stopped coming, they moved away, their membership lapsed – use Remove from organization instead. It keeps their history, leaves your statistics intact, and you can put them back later.
Guests blocked from public booking
Section titled “Guests blocked from public booking”A guest who books through your public booking page and then does not show up, or cancels too late, is automatically flagged. The next time they try to book themselves in on /book, they are turned away with a message you control.
You can see and lift this at any time:
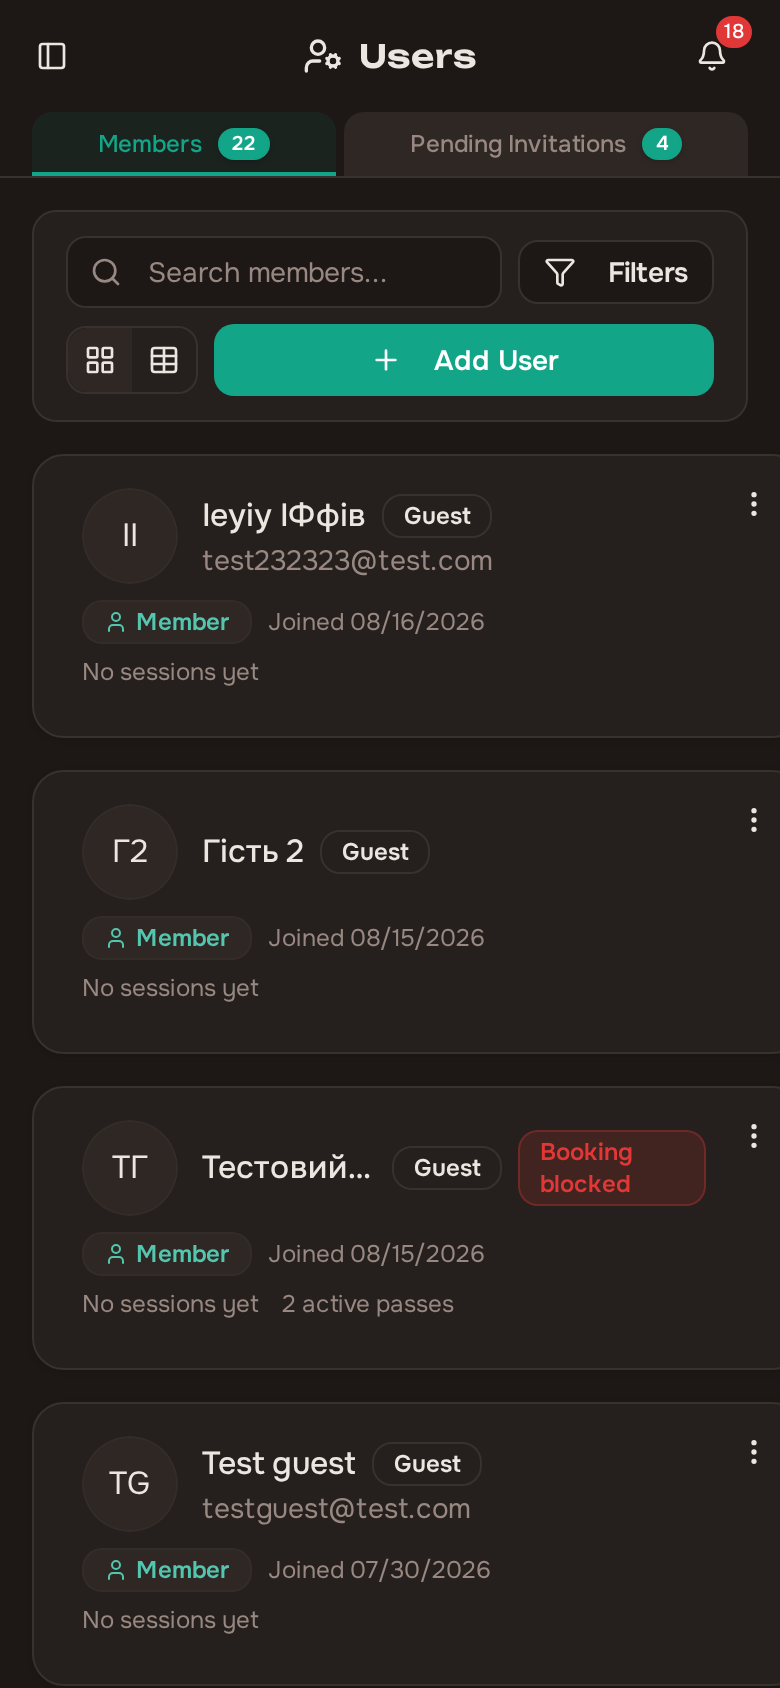
- A flagged guest shows a red Booking blocked badge in the members list and on their profile.
- Open their profile and use Allow booking again to clear the flag — their next public booking then goes through as normal.
The block only stops the guest from booking themselves on the public page. You or a trainer can still add them to a session manually — doing so acts as an override. Only guests are ever flagged; members with a full account are never blocked this way.
Managing invitations
Section titled “Managing invitations”The invitations section gives you a list of all pending, accepted, and expired invitations. From here you can:
- Resend an invitation if it expired or the recipient lost the email.
- Cancel a pending invitation if it is no longer needed.
This helps you keep track of who has been invited and follow up when necessary.