Guest Members
A prospect walks in for a trial lesson without an account. Trainery lets you create them as a guest member in seconds — just a name — book them into the session immediately, and later hand them a self-service activation link. When they finish the setup, the same person keeps every booking, pass, and attendance record they accumulated as a guest.
Adding a Guest
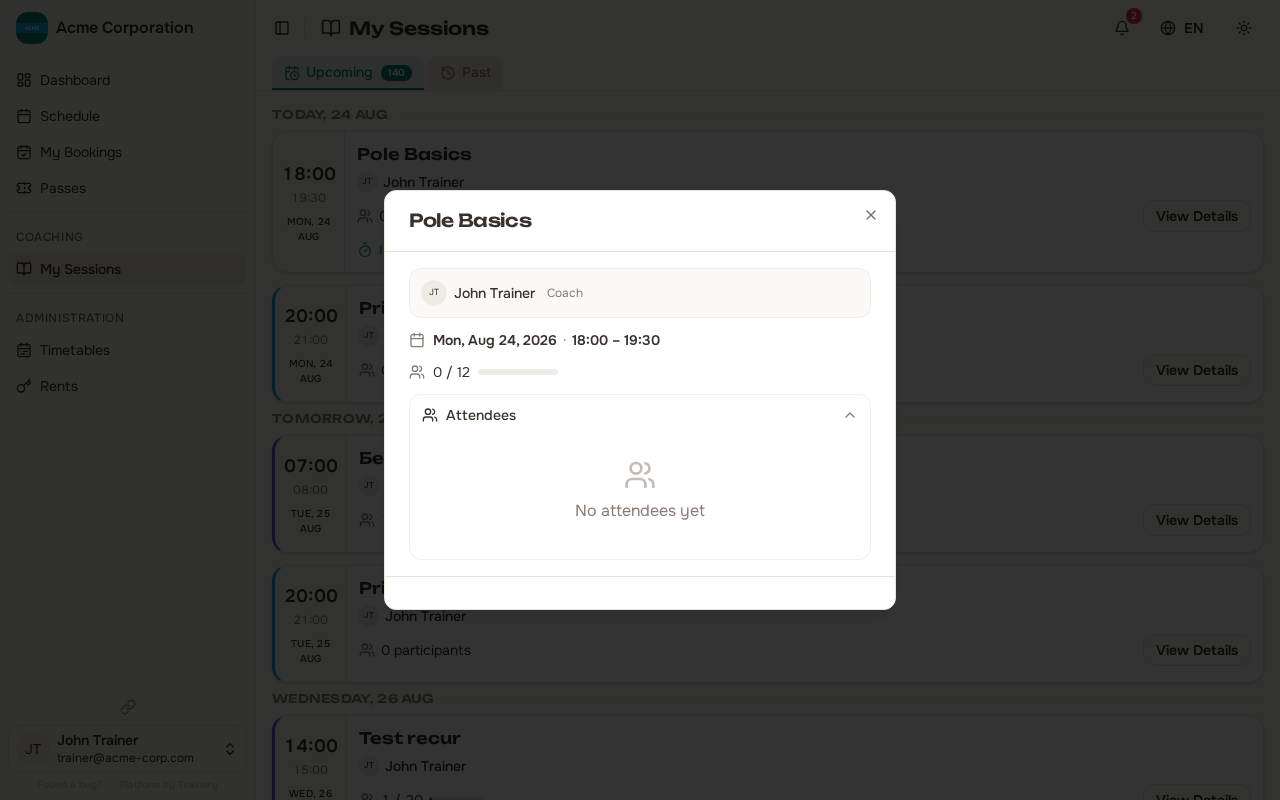
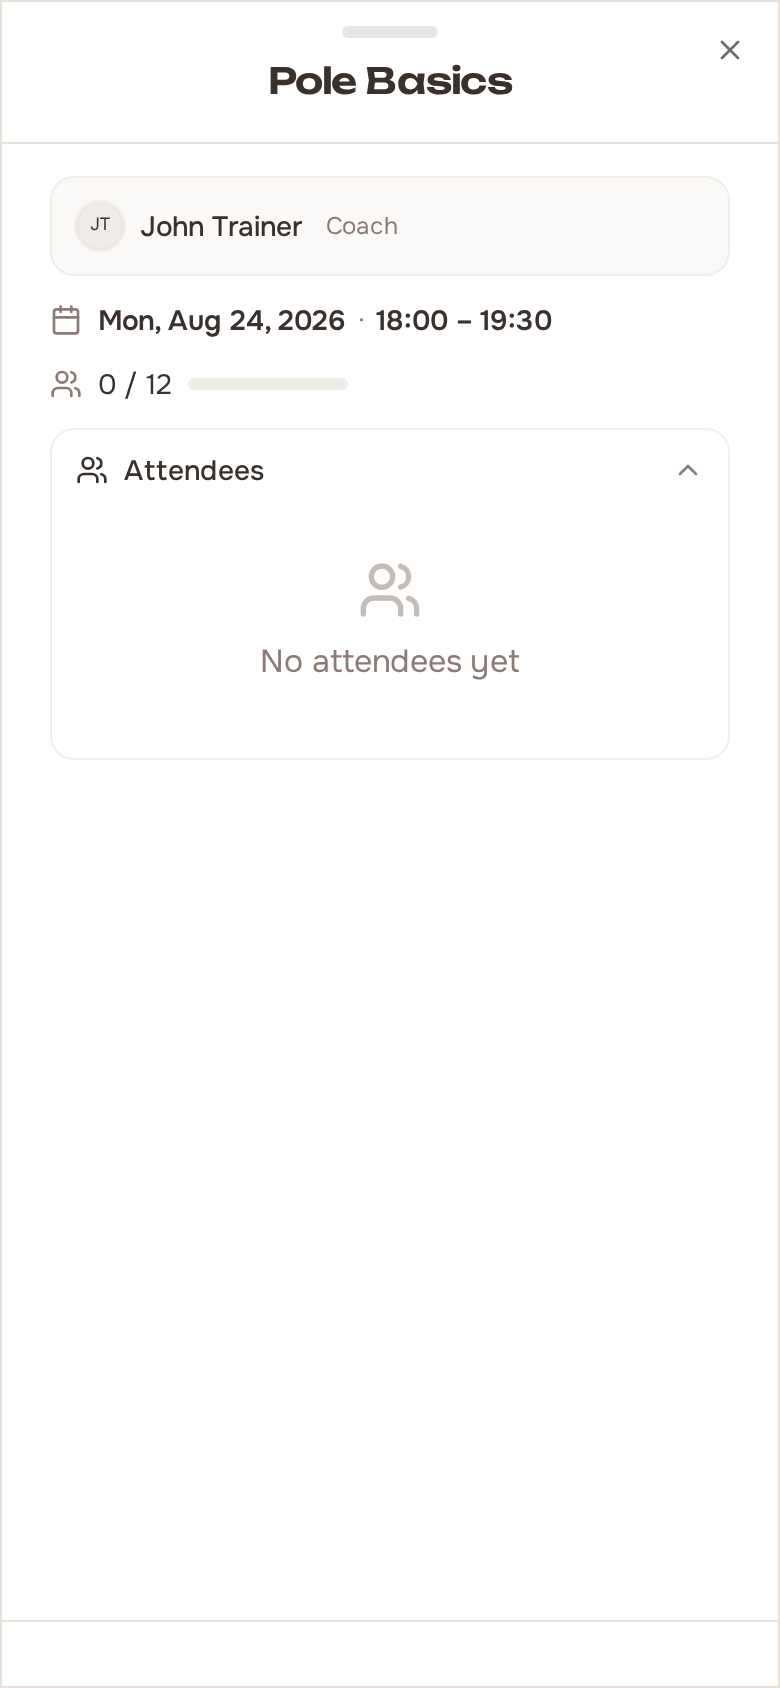
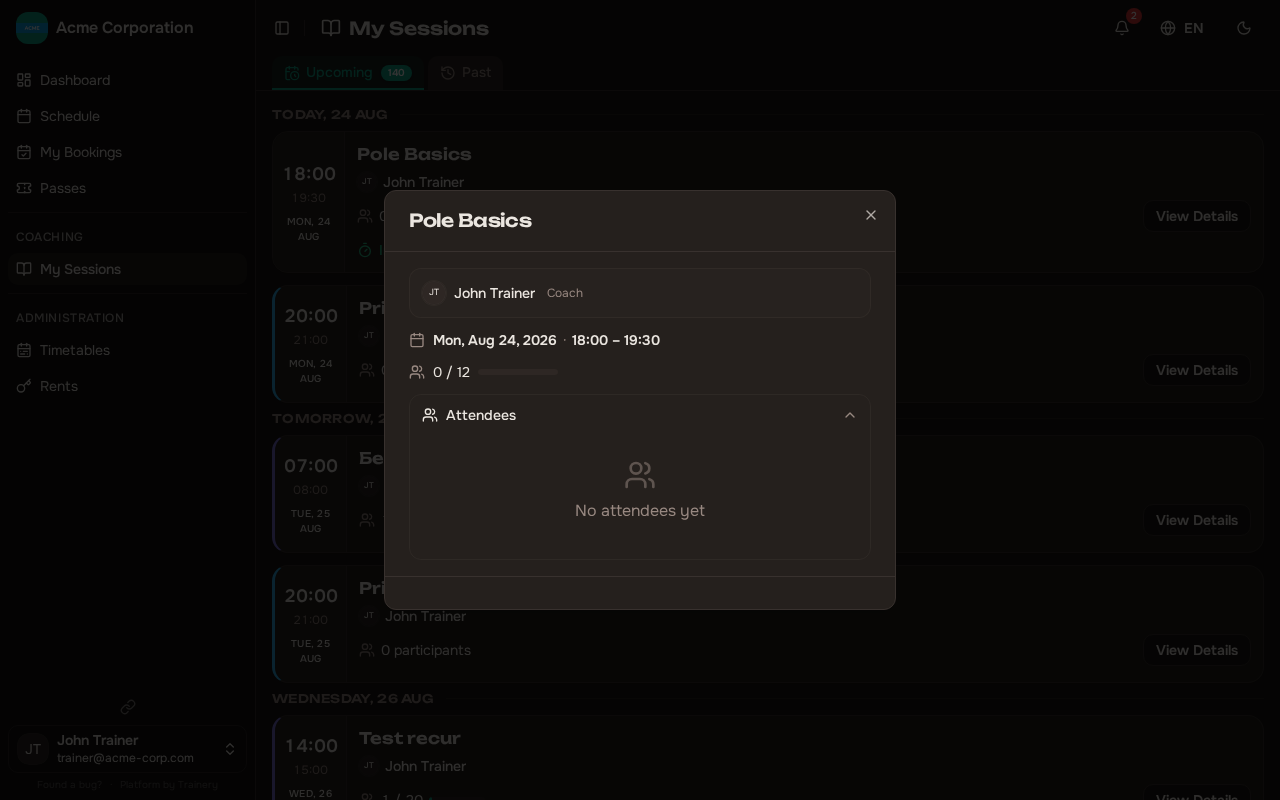
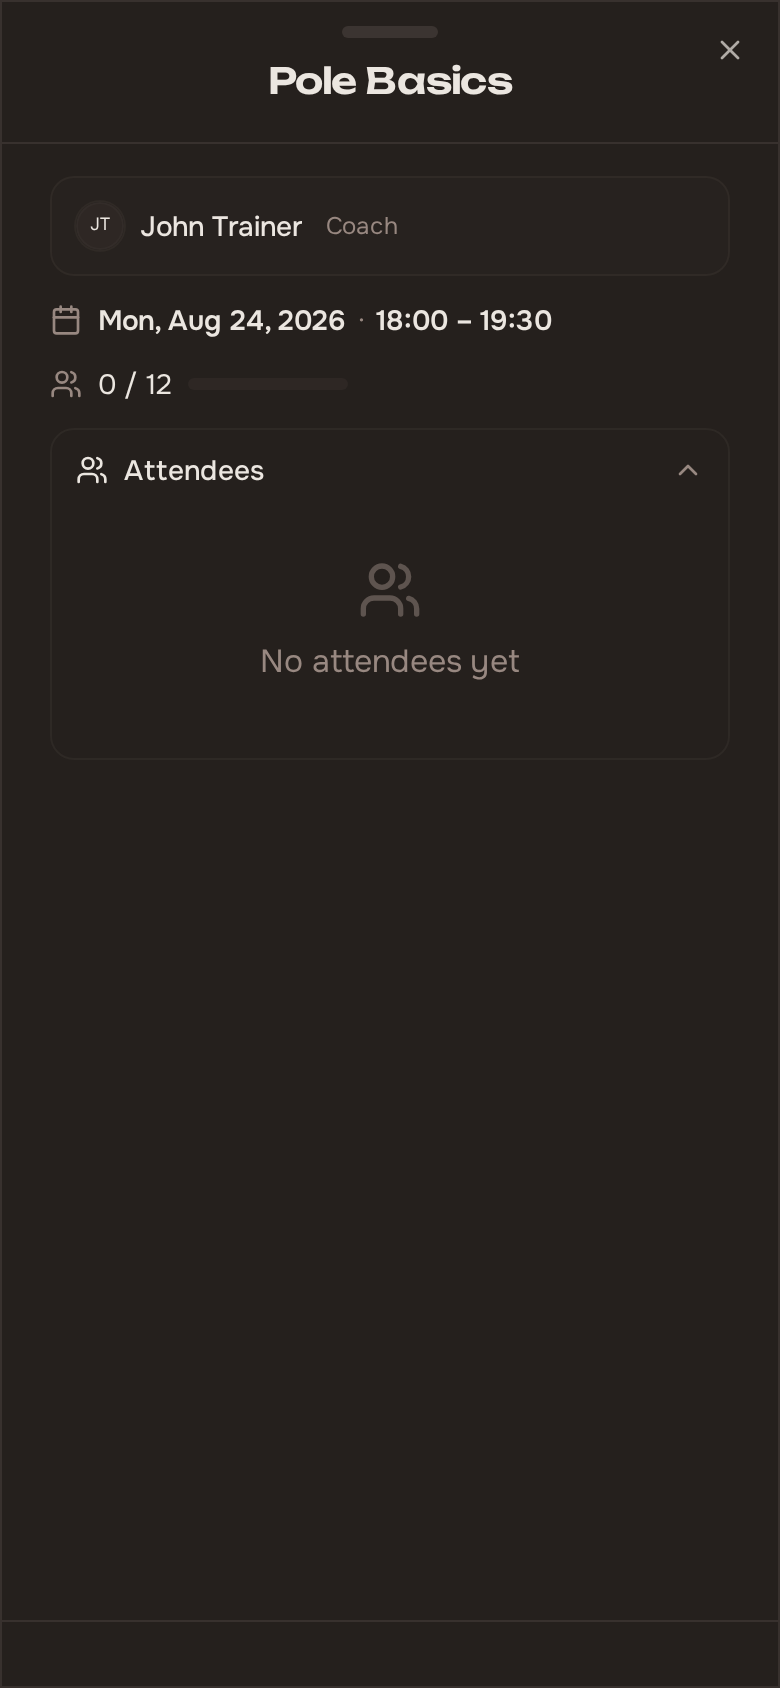
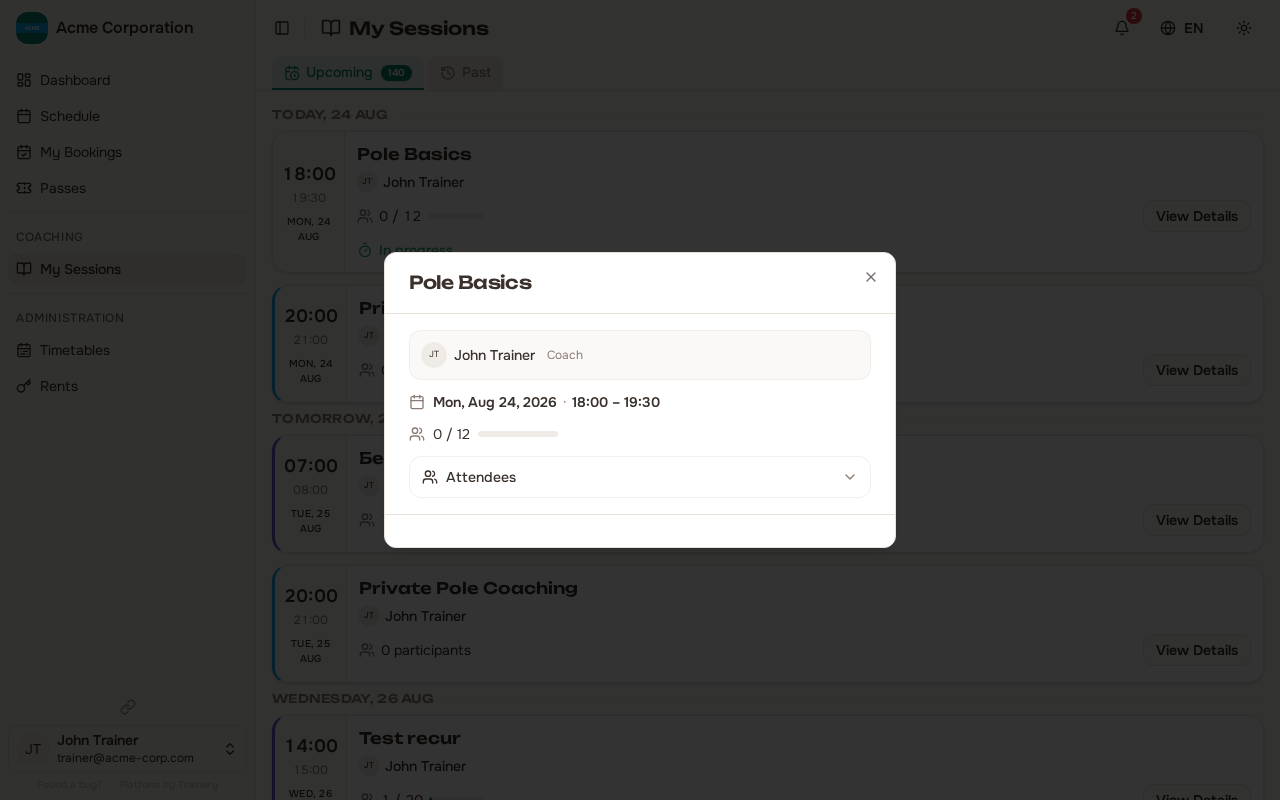
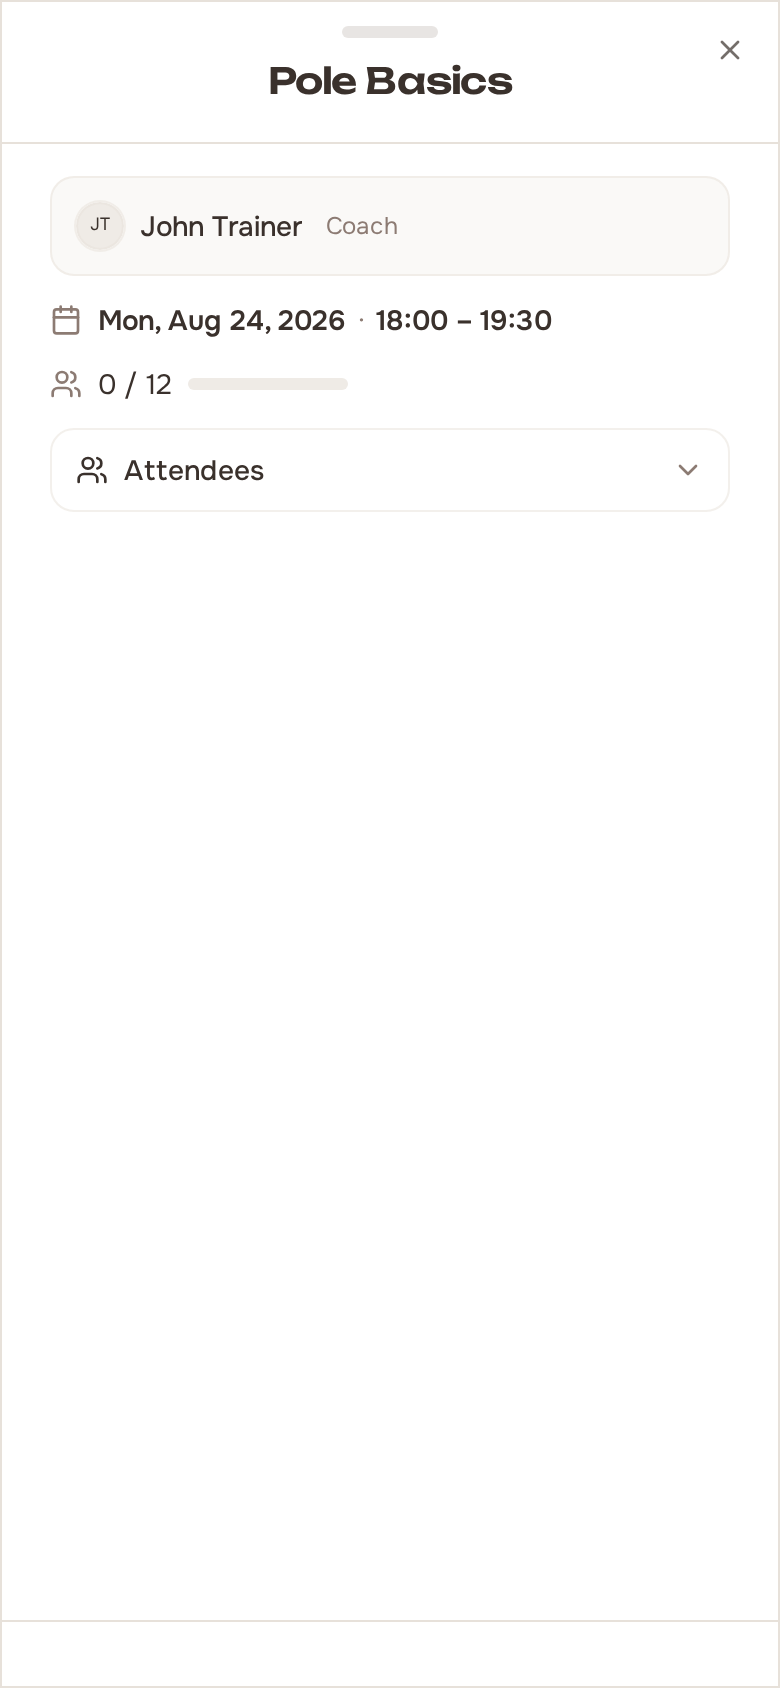
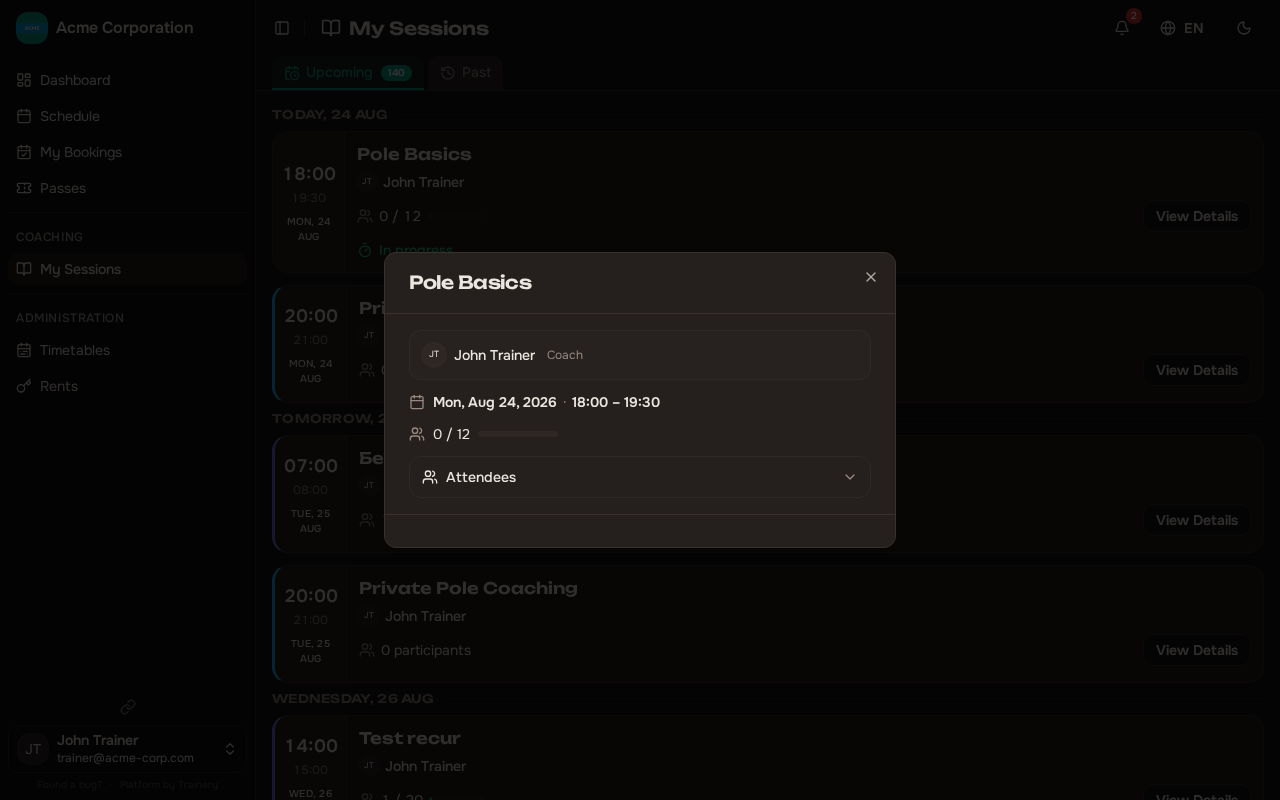
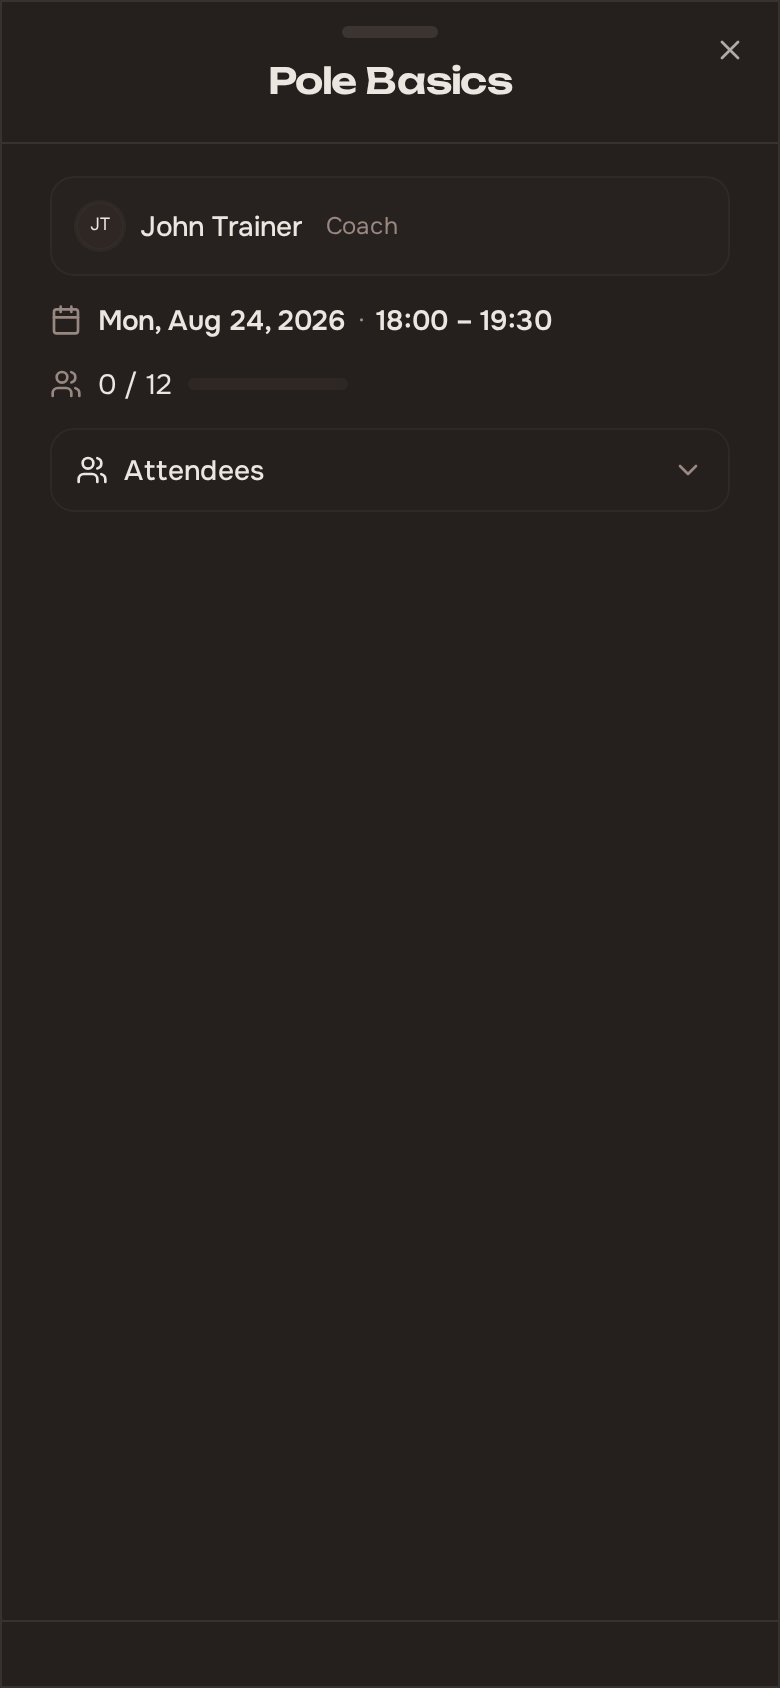
Section titled “Adding a Guest”As a trainer, you add a guest from within a specific session — there is no separate “add guest” action on the members list for trainers. Open any upcoming session you lead, expand the Attendees section, and click Add Guest. The new guest is created and booked into that session in one step.
The form asks for the guest’s name — that is the only required field (one to fifty characters). Email and phone are both optional, so a name alone is enough to get someone onto the attendee list. No password and no role picker — the point is that you should not have to interrupt a session to get a new face into the system. If you do enter a phone number, use international format (starting with +).
A guest saved with neither an email nor a phone cannot be matched against an existing profile, so adding the same person twice creates two separate entries. Enter an email or phone whenever you have one.
If the session is an individual (1-on-1) template, the dialog routes the booking through the individual-session path automatically. If the session belongs to a closed schedule, the Add Guest button is hidden — guests can only join closed schedules through a pass.
When the Name Already Exists
Section titled “When the Name Already Exists”As soon as you have filled in both a first and a last name, Trainery compares them against the members already on file and tells you if someone is there under that name. The check runs on the name alone — not email, not phone — because a walk-in usually has neither yet. It ignores capitalisation and word order, so typing “anna ivanova” still turns up an existing “Ivanova Anna”.
What you get is a warning, never a block: A member with that name already exists. Continuing will create a second, separate profile. If it really is a different person who happens to share a name, carry on and the second profile is created as normal.
- One person matches — the warning offers Use the existing member, which switches the booking over to that profile in one click. Taking it does not close the dialog, submit anything, or clear what you have typed, so you can look at the result and back out.
- Several people match — the warning tells you how many and offers no button. With more than one candidate, the choice is too ambiguous to make on your behalf.
The check reads the same name-only member list you already have access to for booking, so it reveals no contact details and needs no permission beyond the ones you hold.
Admins see the same warning when they invite someone, but there it is read-only — the invite form has no switch action.
How Guests Appear
Section titled “How Guests Appear”A guest is a real member from the booking system’s perspective — same row in the members list, same details modal, same record on attendance lists. The only differences are visual cues that tell you the account has not been claimed yet:
- The members list status filter folds Guest alongside Active / Suspended / Removed in a single dropdown. Filter by Guest to see only the trial accounts you have created.
- The status badge in member rows shows Guest with a warning tint when the account is still unclaimed.
- Inside the member-details and edit-membership dialogs, a yellow Guest banner prompts you to collect an email and send a setup link.
No Booking Limit
Section titled “No Booking Limit”Guests can be booked into as many sessions as you like — there is no trial cap. (An earlier version limited guests to a set number of attended sessions; that restriction has been removed.) When you are ready to convert a guest into a full member, hand them a setup link, as described below.
Sending the Setup Link
Section titled “Sending the Setup Link”When you are ready to convert a guest into a real member, open the guest’s member-details or edit-membership dialog and work from the Guest banner at the top. It gives you two ways to hand the activation link over.
Send setup link — enter the guest’s email in the banner and click Send setup link. The system saves the email (only if it changed) and queues a message containing a one-time activation link.
Copy setup link — the same banner can hand you the link instead of emailing it, which is what you want when the guest is standing in front of you: paste it into a chat, or show it on screen as a QR code. This works both for a guest who has an email on file and for a guest with no email at all.
Either way the link expires after seven days, and creating a new link cancels any previous pending one — there is always at most one live setup link per guest.
Anyone holding a setup link can activate that account, so share it only with the person it belongs to.
If the guest cannot find the email, just resend. The previous link stops working as soon as a new one is sent.
What the Guest Does
Section titled “What the Guest Does”The link opens an activation page at /claim/<token>. What the guest sees first depends on whether you saved an email for them.
- Guest with an email on file — the link opens straight onto the activation form.
- Guest with no email on file — the page first asks the person for their own email address. Trainery then emails the activation link to that address, so the address is confirmed by the person who owns it; no password is set on this collection step. If the address already belongs to another account, they are simply told the account exists — they are never told whether it is a guest or a full member.
The activation form itself is a real registration form: first name, last name, phone, and a password entered twice, plus agreeing to the terms — the same fields as a normal signup. The name and phone you entered are prefilled and the person can correct them, and whatever they confirm replaces your values everywhere in the app: member lists, attendee rows, all of it. The email is shown read-only, because the link was issued to that address.
After they submit the form they are logged in immediately to your organization. From that moment on:
- The Guest badge disappears from the trainer’s view.
- The same member can sign in normally with email and password from then on.
- Every booking, pass, attendance mark, and stats entry the guest accumulated stays attached to their account.
If the guest later tries to register with the same email through the public signup form, Trainery does not create a duplicate account — it re-sends the setup link to that email instead and shows them a “check your email” screen.
Editing a Guest’s Email
Section titled “Editing a Guest’s Email”Once a guest has an email saved, you can update it from the same Guest banner — change the value and click Send setup link again. The new email takes effect and a fresh link goes out. If you never collected an email, you do not have to chase one: use Copy setup link and let the guest supply their own address on the activation page.
Editing the email is allowed only before the guest claims their account. After claim, the email becomes the identity for sign-in and cannot be changed from this dialog. (Self-serve email change is a separate, future feature.)
Edge Cases
Section titled “Edge Cases”- The guest never claims — That is fine. The record stays in the system with all their bookings and history. They keep the Guest badge until they finish setup.
- You typed the wrong email — Just update the email in the banner and resend. The old link stops working.
- The guest wants to sign in before claiming — They cannot. Until they finish setup, the sign-in form, password-reset form, and Google sign-in all refuse the email with the same generic “invalid credentials” message anyone else would see — there is no way to learn from the outside that a particular email is an unclaimed guest in your studio.
- Demo organization — Setup-link emails are captured to the inbox panel like every other outbound message, so a visitor exploring the demo can see the flow end-to-end without anything going to a real address.