Organization Settings
As an admin, you can customize how your organization looks and operates. All of these settings are found in the organization settings area of the admin panel.
Timezone
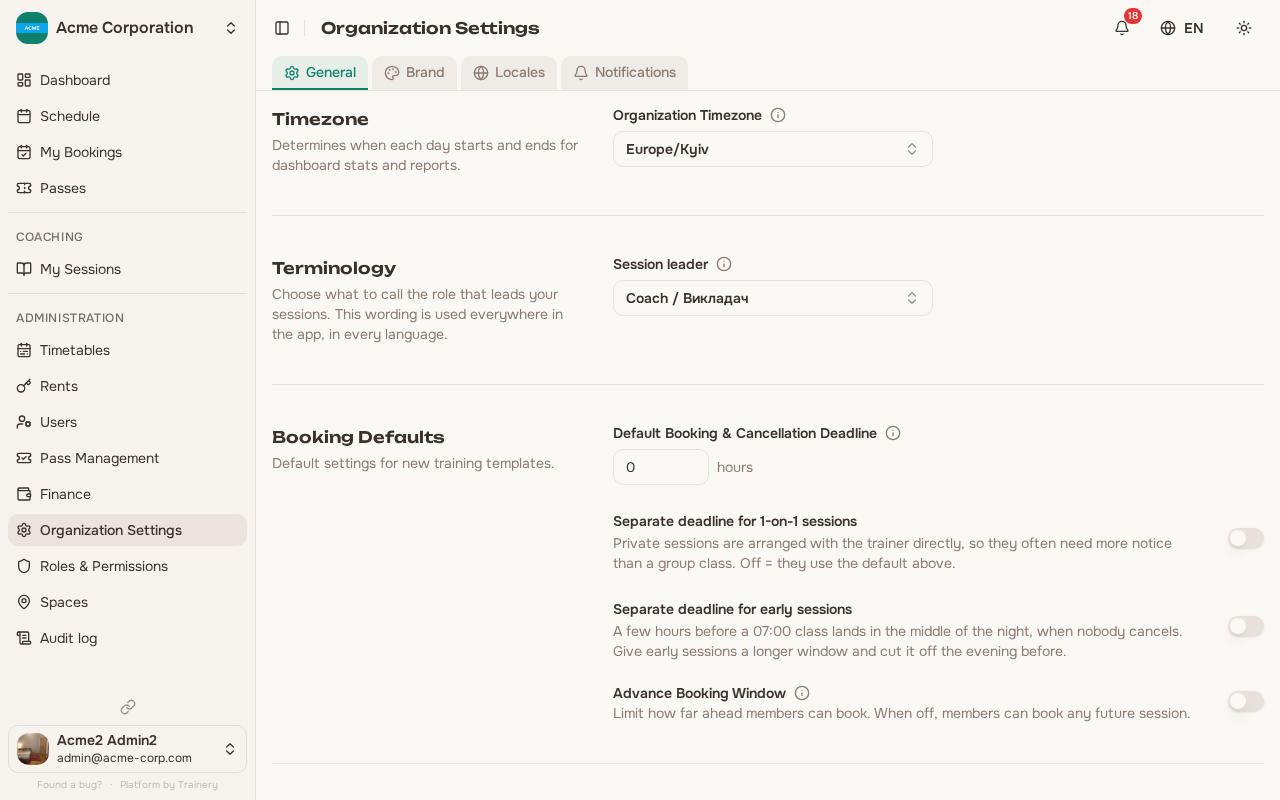
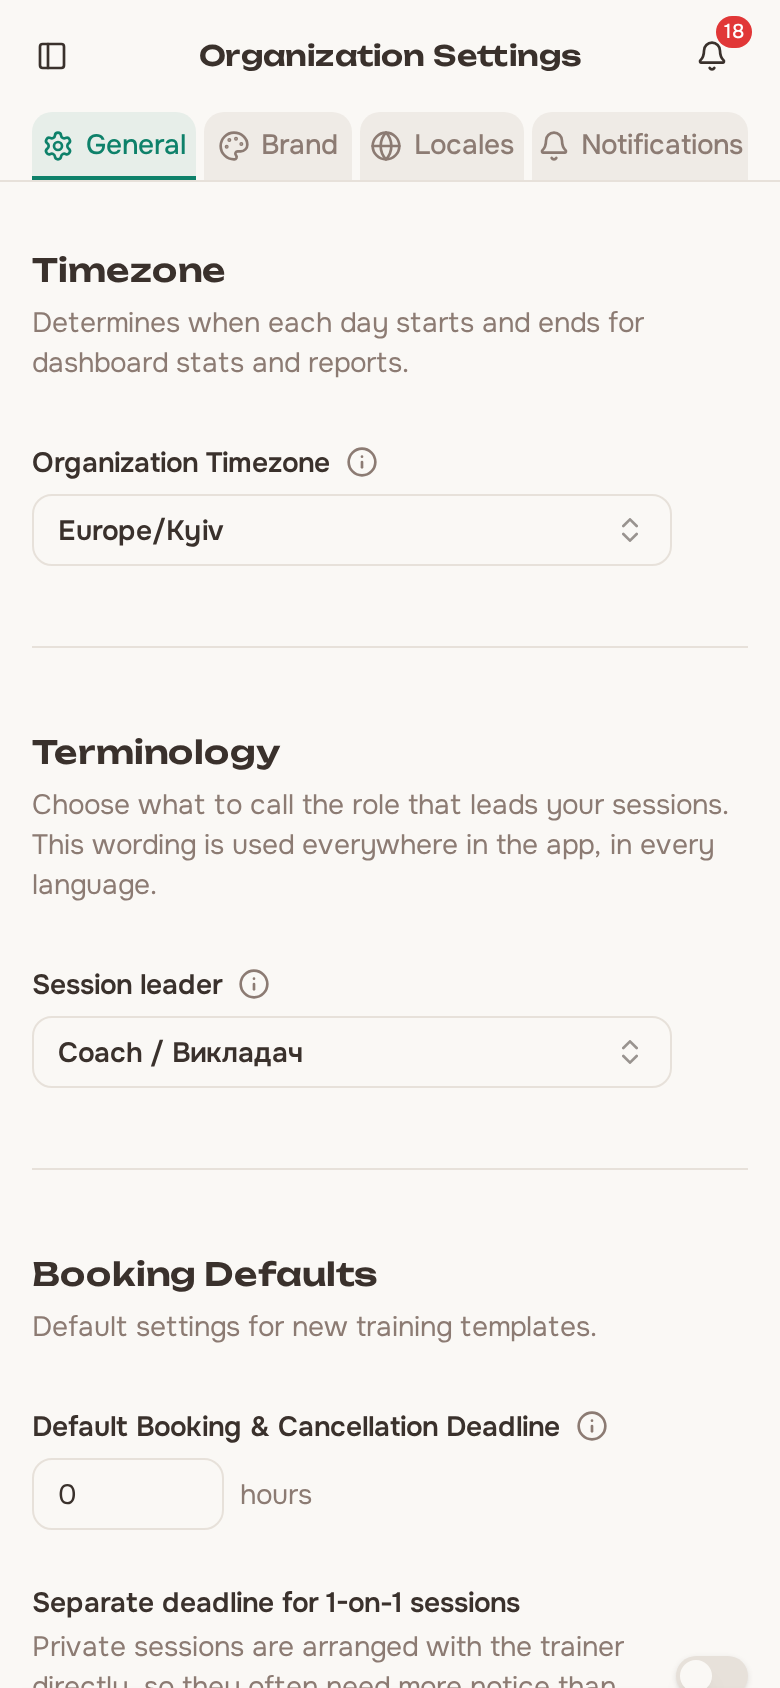
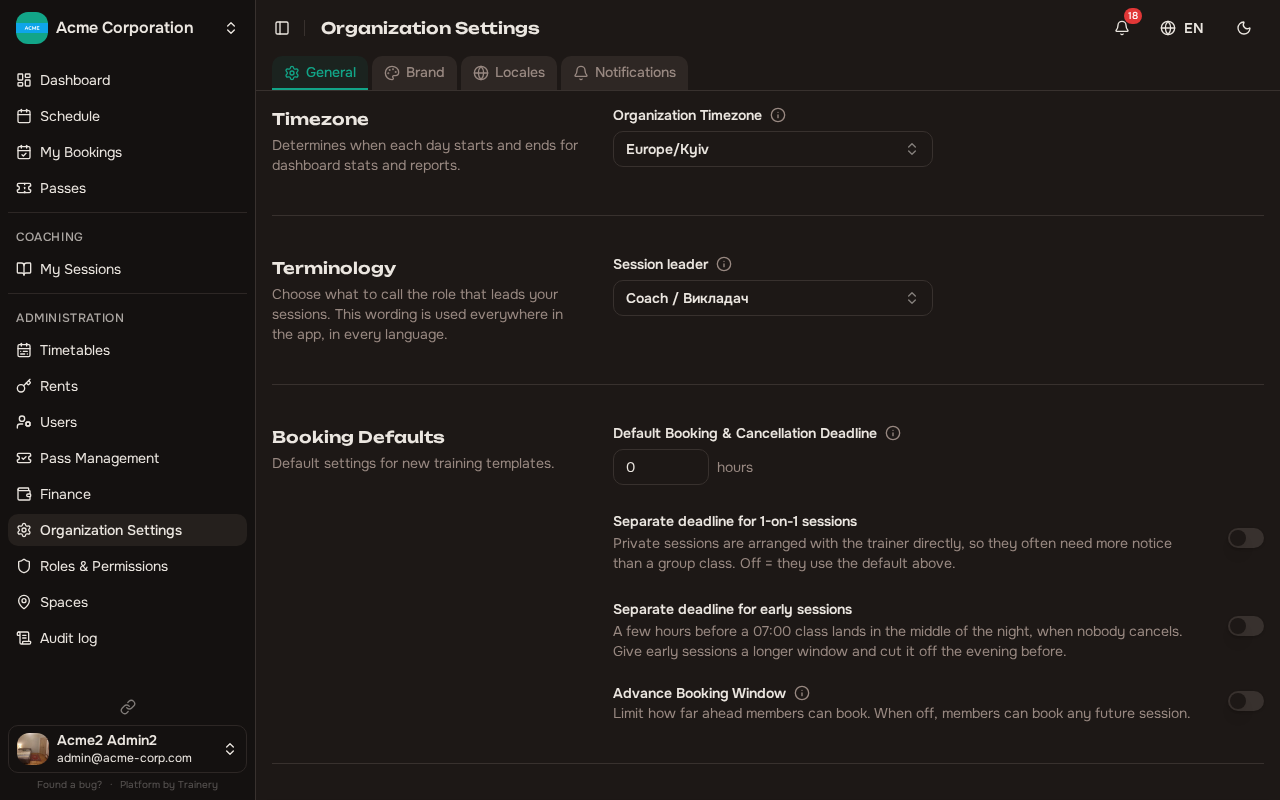
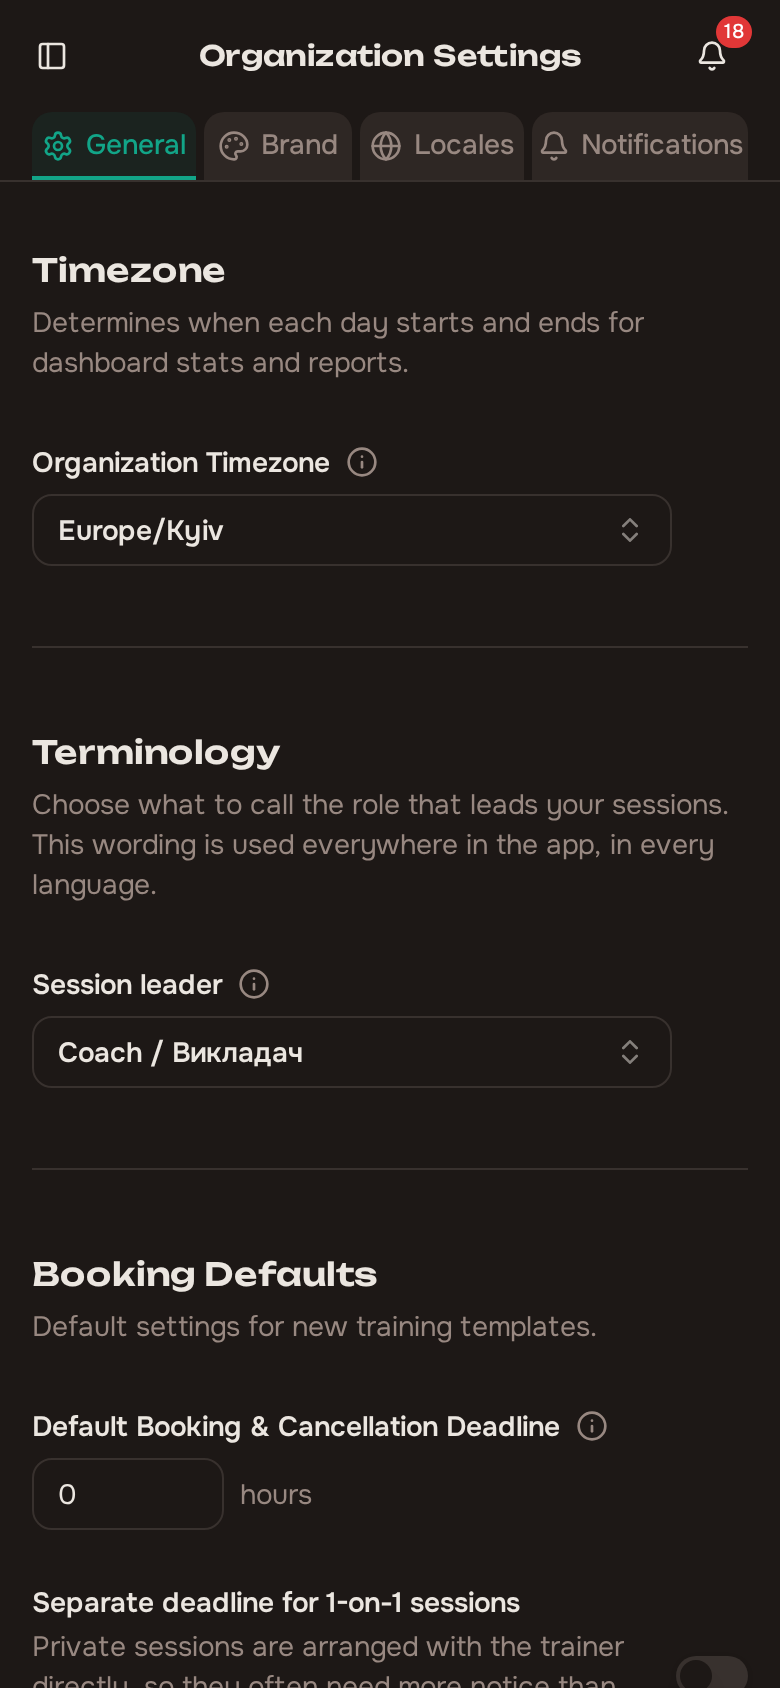
Section titled “Timezone”Set your organization’s timezone on the General settings page. This is your studio’s local clock, and it matters more than it might seem:
- Session and rent times are shown in your organization’s timezone for everyone. When you schedule a class for 18:00, every member sees 18:00 – even a member travelling abroad whose phone is set to a different timezone. Times are stored precisely and always displayed on the studio’s clock, so there is never any confusion about when a session actually starts.
- “Today” and date boundaries follow your timezone. Dashboard stats (“sessions today”, monthly totals, attendance streaks) and the day a session belongs to are all calculated against your studio’s calendar, not the viewer’s device or the server.
- The advance booking window is measured in your timezone (see Booking settings below).
The default is Europe/Kyiv. Pick the city closest to your studio from the searchable list. Changing the timezone affects how existing and future session times are displayed – the underlying schedule (for example, “every Monday at 18:00”) keeps its wall-clock time.
Theme and branding
Section titled “Theme and branding”Trainery lets you personalize the look and feel of your organization’s interface:
- Colors: Customize your primary, secondary, and accent colors. The sidebar has its own color palette. Over 20 color tokens are available, including destructive, warning, success, info, tertiary, and muted.
- Fonts: Choose heading and body fonts from Google Fonts.
- Radius and shadow: Adjust the border-radius (roundness of buttons, cards, inputs) and box-shadow (depth/elevation of cards and elevated elements).
- Logo: Upload your organization’s logo. It appears in the sidebar/header branding area for all members. You can remove it at any time.
You can pick from 9 predefined themes (Trainery, Clean Slate, Onyx, Frost, Aurora, Dune, Midnight, Brutalist, Vapor) or create a custom theme. Custom themes inherit from a base theme and let you override specific color tokens.
Applying a theme takes effect immediately for all members.
Your logo and colours now reach two places outside the web app. On a member’s home screen: when someone installs the app, your logo becomes the icon they tap, on both Android and iPhone – padded and given a solid background so it is never clipped into a circle or left sitting on a black square. A studio with no logo keeps the default Trainery icon, and because each studio installs as its own app, members of two studios get two separate icons. See Installing the App. In email: every message Trainery sends on your behalf is laid out in your colours and carries your logo and name, with the footer naming your studio and a small “Powered by Trainery” line beneath it. A studio with no logo gets its name in the header instead.
The default theme is “Trainery”. Try the predefined options first – you can always switch to a custom theme later if you need more control.
Studio information
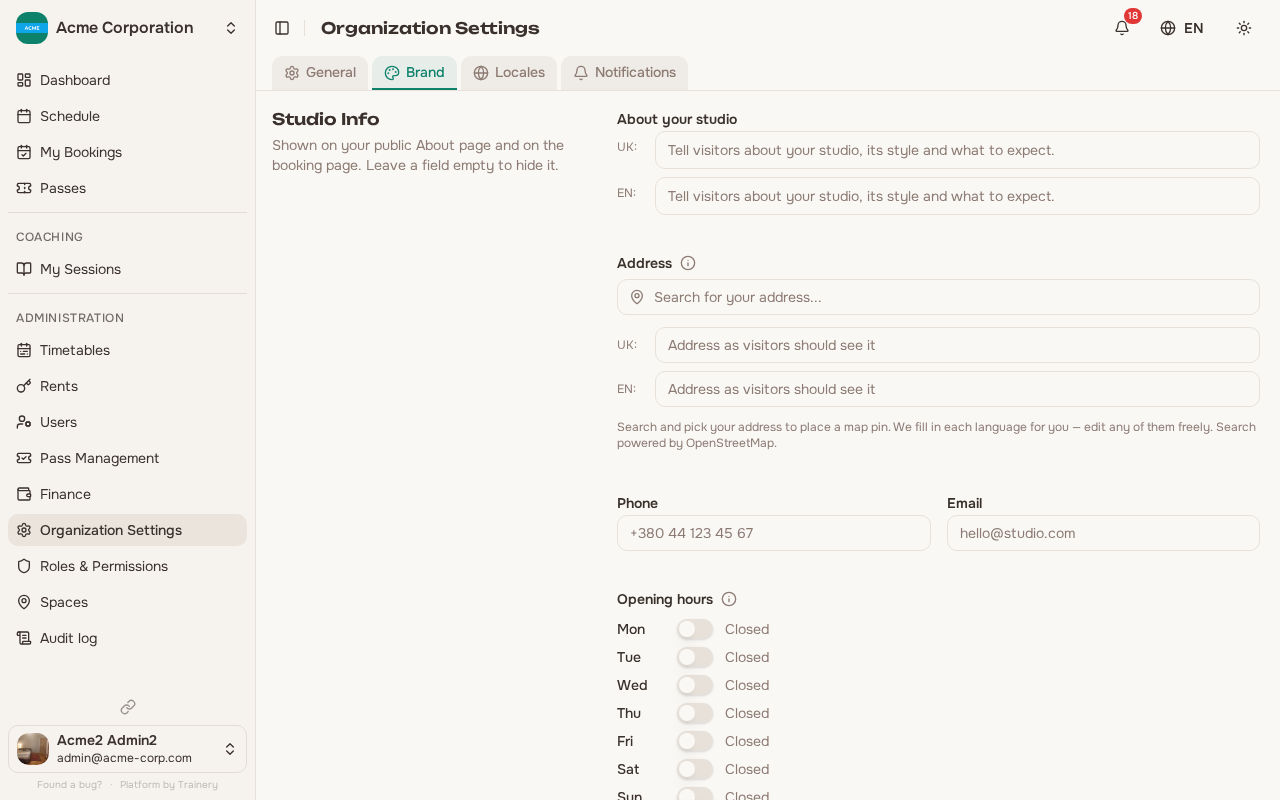
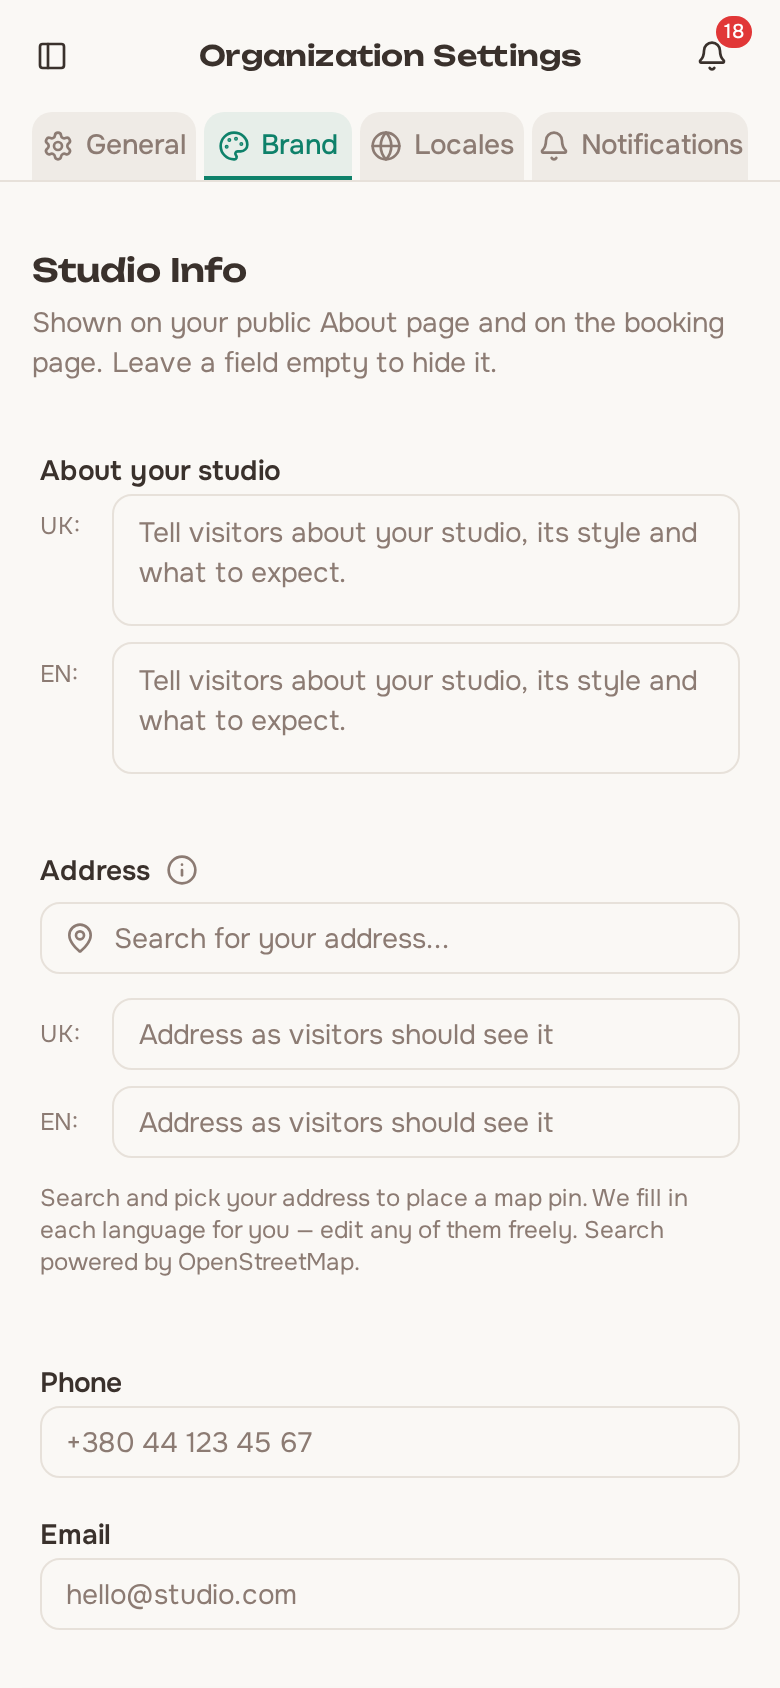
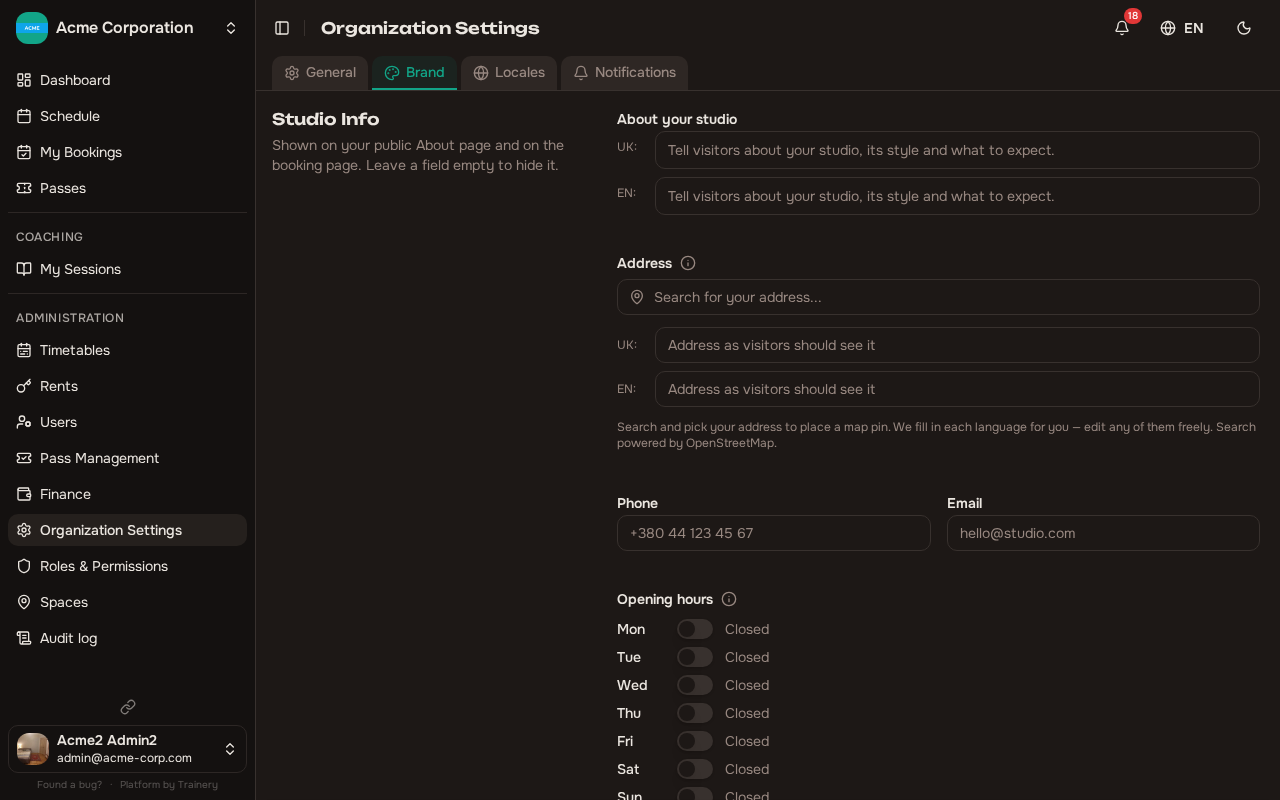
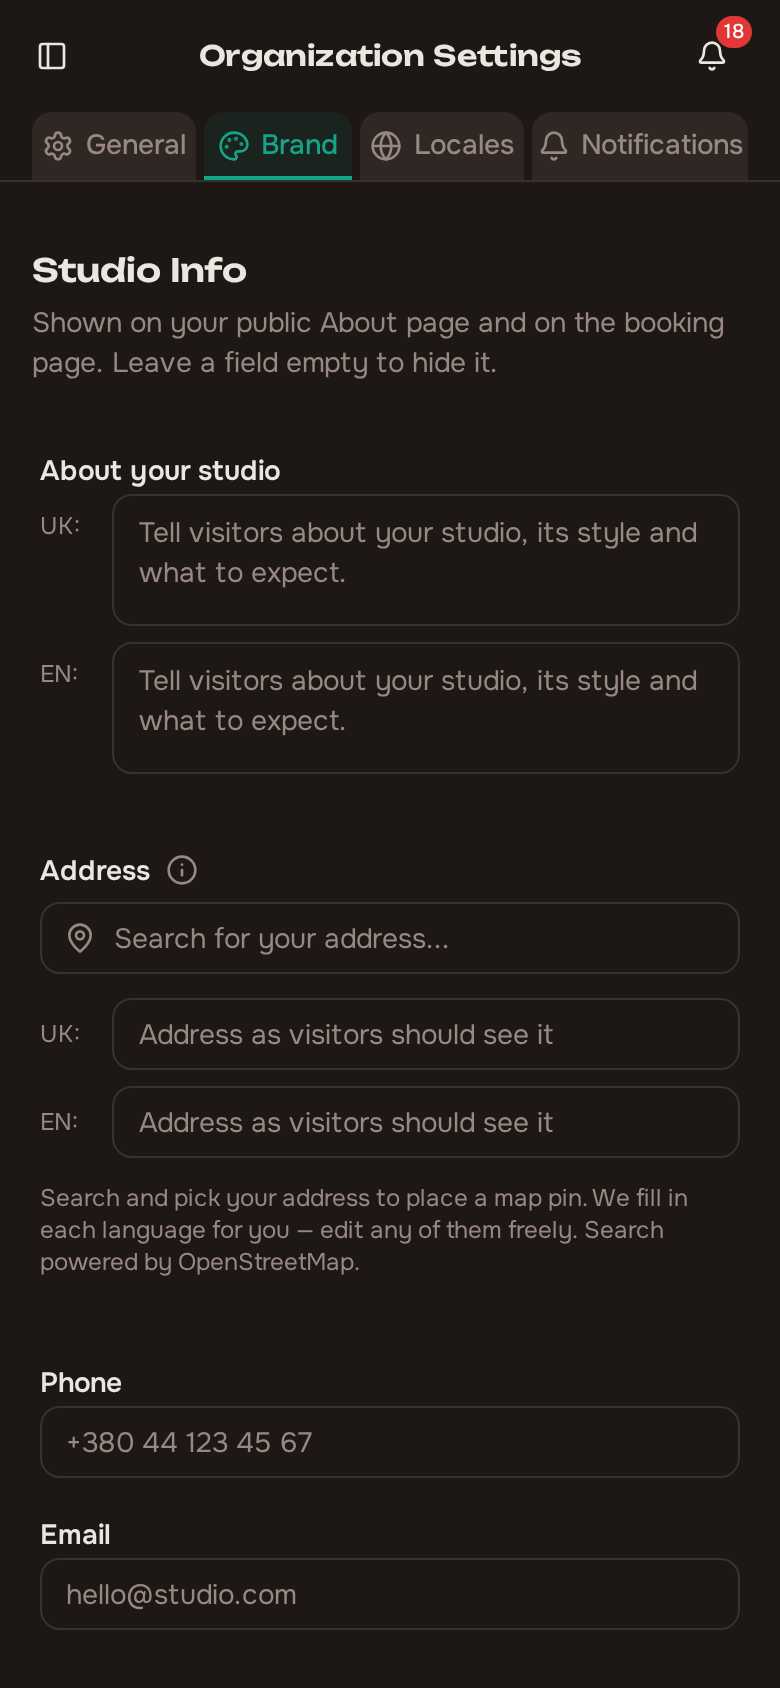
Section titled “Studio information”At the top of the Brand tab, the Studio Info section holds the description, address and map pin, phone, email and opening hours that make up your public studio profile. It feeds your public About page (/about), the block at the bottom of your public booking page, and the About the studio item in the sidebar.
Leave a field empty to hide it; leave the whole section empty and none of those surfaces appear at all. Full walkthrough: Studio Profile.
Public links
Section titled “Public links”Add your studio’s website and social profiles so members can reach you outside the app. Found on the Brand tab, just below Studio Info.
- Website: Your studio’s main website.
- Instagram: Your Instagram profile URL.
- Facebook: Your Facebook page URL.
- Telegram: Your Telegram channel or chat URL.
Each field is optional and saved independently. Once saved, the populated links appear as small icons in the sidebar (above the user menu) for every member, with a single click opening the page in a new tab. Leave a field blank to hide that icon entirely.
URLs must include the protocol (
https://...orhttp://...). The icon row stays hidden until at least one link is set, so a brand-new organization will not see an empty placeholder.
Booking settings
Section titled “Booking settings”Control how members interact with the booking system:
- Default Booking & Cancellation Deadline (default: 3 hours, range: 0–168 hours): One cutoff, two gates. It is how many hours before a session starts that booking closes – and the same moment closes cancellation for members. The two are deliberately not split: someone who can no longer book can no longer cancel either. Past the deadline a member can neither book nor cancel; trainers and admins bypass both gates and can still do either on someone’s behalf. Late cancellation stays hard-blocked – there is no “cancel anyway and forfeit the session”, so a cancelled booking always refunds its pass session, whoever cancels and whenever. Set to 0 to keep both open until the session starts. This is the studio-wide fallback; see Which deadline applies below for the rules that can override it.
- Advance booking window (default: no limit, range: 1–365 days or none): How far in advance members can book sessions, counted in calendar days in your organization’s timezone. When set, sessions beyond this window are visible but not bookable. Leave empty for no restriction.
- Buffer Time Settings: The stretch between the booking deadline and the session start. Enable Buffer Period (default: off) turns it on, and Buffer Duration (range: 5–240 minutes) sets how long it lasts. Inside the buffer a member who missed the deadline is not simply told “closed” – they are pointed at the trainer, who can still book them in. See The buffer window below for how it interacts with the deadline rules.
- Keep the buffer open until the session starts (default: off): When on, the whole stretch after the deadline is buffer – members are invited to contact the trainer right up to the start – and the Buffer Duration field disappears, because there is nothing left to size. When off, the buffer is capped at Buffer Duration and the last stretch before the start is closed outright.
- Block pass payment for overtime (default: off): Appears under the buffer time settings once buffer time is enabled. An “overtime” booking is one a trainer or admin made on someone’s behalf after the normal booking deadline had already passed – members can never create such a booking themselves, because the deadline stops them. When this switch is on, an overtime booking cannot be paid with a pass: only cash or card remain available, and the pass option stays locked for that booking later on too, including when the trainer marks attendance. The lock is recorded on the individual booking, so turning the setting back off does not unlock bookings that were already flagged.
- Message shown during the buffer period (optional, one per language): What a member reads in place of the Book button once the deadline has passed. Leave it empty and Trainery uses its own wording, which already points people at the trainer.
- Message shown when cancelling has closed (optional, one per language): What a member reads in place of the Cancel button once cancelling has closed. Leave it empty and the default is used, which names the exact time the window shut.
- Auto-cancel for low participation (default: off): When enabled, a background job checks each session at the configured time before start. You configure:
- Check hours (default: 24, range: 1–168): How many hours before the session to check. Lower values give members more time to book; higher values give earlier certainty.
- Minimum participants (default: 1): Sessions with fewer confirmed bookings than this threshold will be auto-cancelled.
- Notify-only mode (default: off): When on, the system sends a warning notification to affected members and trainers but keeps the session active. Useful for soft warnings without actually cancelling.
Which deadline applies
Section titled “Which deadline applies”Every session has exactly one deadline, but it can come from four places. They are checked in this order and the first match wins:
- The training’s own override – the Booking & Cancellation Deadline (hours) field on that training.
- Separate deadline for 1-on-1 sessions, if you have enabled it. This is checked before the early-session rule, so a 07:00 one-on-one follows the 1-on-1 rule, not the early one.
- Separate deadline for early sessions, if you have enabled it.
- Default Booking & Cancellation Deadline – the studio-wide fallback.
A training with no override of its own follows the studio rule live: change the default and every such training moves with it immediately, however long ago it was created. (Previously each training quietly kept a copy of the default as it stood on the day it was created, so changing the setting reached nothing. Those old copies have been handed back to the studio rule.)
The Booking & Cancellation Deadline (hours) field appears both when you create a training and when you edit one. On the edit form, leaving it empty is a real choice, not an unfinished one – it hands that training back to the studio rule. Fill it in only when this one training genuinely needs its own cutoff.
Early sessions
Section titled “Early sessions”Three hours is a sensible cutoff for an 18:00 class and a useless one for a 07:00 class, where it lands at 04:00 – in the middle of the night, when nobody is awake to cancel. Separate deadline for early sessions fixes that. It has three parts:
- Which start time counts as “early” – sessions starting before it use this rule.
- How many hours before the start the deadline should fall.
- The latest time on the previous evening the deadline is allowed to fall.
The deadline is the hours-before-start figure, but never later than that evening time on the day before. So a 4-hour rule on a 07:00 class does not settle at 03:00: it is pulled back to the evening cut-off, and members decide the night before while they are still awake.
“Early”, “the previous day” and the evening cut-off are all read on your studio’s clock – see Timezone above – so a member travelling abroad gets the same cutoff as everyone else.
Because a clamped deadline is a wall-clock moment rather than a count of hours, the message members see names that moment itself – the evening and time it falls on – instead of counting hours down to the session.
The buffer window
Section titled “The buffer window”The buffer is anchored to the session start, while the deadline moves with whichever rule above applied. The two ends are independent, so a rule that closes booking earlier does not slide the buffer along with it – it lengthens the buffer. With Keep the buffer open until the session starts enabled, an early-session cutoff set to the previous evening turns the whole night and the morning before a 07:00 class into buffer: members cannot book themselves in, but instead of a dead end they are told to contact the trainer, who can still add them.
Wording members see
Section titled “Wording members see”Both ends of a closed window can be phrased in your own words. The two fields sit together under Buffer Time Settings because they explain the same deadline from opposite sides: one is shown instead of the Book button, the other instead of the Cancel button.
Each is written per language, and each member sees the one for the language they are using. Leaving a field empty is a real choice, not a gap – the default cancellation wording names the exact moment the window closed, which is often more useful than a hand-written sentence. Clearing a message you had filled in restores the default rather than leaving members with a blank notice.
These fields change wording only. They do not change who may book, who may cancel, who bypasses the deadline, or whether a late booking can be paid with a pass.
1-on-1 sessions
Section titled “1-on-1 sessions”One-on-one sessions sit outside the buffer and overtime mechanism entirely. Only a trainer can create one, so a booking made after the deadline there is not somebody slipping past a gate – it simply means the session was arranged at short notice, which is normal. Separate deadline for 1-on-1 sessions therefore gates one thing only: how late the member may cancel.
Booking rules
Section titled “Booking rules”If your studio has house rules – arrive 10 minutes early, cancel at least 3 hours ahead, bring your own mat – you can require people to accept them before they book. Look for the Booking Rules section on the General settings page.
- Require rules (default: off): The switch that turns the whole feature on.
- Rules text: One plain-text box per language your organization has configured (see Locales below). Plain text only – line breaks are preserved, but there is no formatting, no links, and no lists.
Rules are only shown if the toggle is on and at least one language box has text in it. Leaving every box empty hides both the rules and the acceptance checkbox, so you can prepare the switch before you have written anything.
How members accept
Section titled “How members accept”Members accept once. Before their very first booking, the rules pop up and they must tick “I have read and understand the booking rules.” before the Confirm button becomes available. From then on, the booking dialog just shows a View booking rules link they can open whenever they want – see Booking Sessions.
If you edit the rules text, everyone is asked to accept again the next time they book. Re-saving the settings page without changing anything – or changing only whitespace – does not re-prompt anyone, so you can safely save other settings on the same page.
Two cases work differently:
- Guests booking on your public booking page accept the rules every single time they book. Nothing is remembered for them, because they have no account.
- Bookings made by a trainer or admin on someone’s behalf never ask that person to accept. The staff member booking them in is expected to have covered the rules in person.
Waitlist
Section titled “Waitlist”- Waitlist enabled (default: on): When enabled, members can join a queue when sessions are full and are automatically promoted (with notification) when a spot opens. When disabled, full sessions simply show as unavailable and members cannot join a queue.
Pass settings
Section titled “Pass settings”Choose how passes behave in your organization:
- At first session (default: off – starts on assignment): Controls when a pass validity countdown begins.
- Off: Validity days count from the moment the pass is granted to the member.
- On: The countdown begins on the day of the first session the member books with the pass, not on the day they book it. A member who books a class a week ahead doesn’t lose that week.
- Until that first session begins, the start follows the member’s bookings: booking an earlier session moves it earlier, and cancelling the first booking moves it to the next booked session (or back to not started, if nothing is booked). Once the first session has begun, the dates are fixed.
- This is useful when you grant passes in advance – members do not lose validity days before they attend their first session. Applies to all new pass grants; existing passes are unaffected.
- New pass card design (default: on): Members see each pass as a bold card showing what’s left, which flips over to show its details, both in their own passes and in the catalogue. Turn it off to keep the classic card. It changes only how passes look.
- Extension on cancel (default: off): When enabled, the session cancel dialog offers trainers an option to extend affected members’ pass expiry by a configurable number of days. This compensates members when sessions are cancelled unexpectedly.
Attendance window
Section titled “Attendance window”Set how many minutes after a session ends trainers can still mark attendance (default: 120 minutes, range: 0–1440 minutes).
Outside this window, the attendance UI locks and trainers can no longer update who attended. Set to 0 to require real-time marking during the session only. This gives trainers a grace period to record who showed up without requiring them to do it during the session itself.
Locales
Section titled “Locales”Configure which languages your organization supports:
- Default locale: The primary language used across the interface. Used as the default for new members and as the fallback for multilingual content. Cannot be unchecked from the available locales list.
- Available locales: Additional languages members can choose from. Members see a language switcher with only these options. When empty, all active system locales are allowed. English is no longer forced into the list — you decide exactly which languages your organization runs in.
- Single-language studios: If you configure only one language, Trainery runs as a single-language studio — the language switcher disappears and multilingual fields prompt for just that one language (no per-language labels).
Multilingual fields (like training names, pass descriptions, and space names) will prompt for content in each available locale.
Notification settings
Section titled “Notification settings”Adjust how notifications behave for your organization:
- Disable notification types: Turn off specific notification categories that are not relevant to your organization. Disabled types are never sent to any member regardless of their personal preferences. For example, disable “Pass requested” if your organization does not use pass requests.
- Reminder timing (minimum: 5 minutes): Set how many minutes before a session to send training reminders. Lower values send reminders closer to session time; higher values give more advance notice.
Members can further customize their own notification preferences per channel (in-app, push, email, Telegram), but the organization-level settings define the baseline. Types disabled here are not shown in members’ settings at all.
Telegram bot
Section titled “Telegram bot”By default, Telegram notifications and member account-linking run through the shared Trainery bot. If you would rather use your own branded bot, connect one in the Notifications tab:
- Connect a bot: Create a bot with Telegram’s @BotFather, copy the token it gives you, and paste it into the Telegram bot field. Once saved, the section shows Connected as @yourbot.
- What it changes: All Telegram notifications and the member “Connect Telegram” flow now go through your organization’s bot instead of the shared one. Members re-link to your bot the next time they connect Telegram.
- Security: The token is stored encrypted and is never shown back to you. Remove it at any time to fall back to the shared Trainery bot.
Available notification types
Section titled “Available notification types”| Category | Type | What it notifies |
|---|---|---|
| Bookings | Booking confirmed | A member successfully booked a session |
| Bookings | Booking cancelled | A booking was cancelled (by the member or an admin) |
| Bookings | Booking waitlisted | A member was placed on the waitlist |
| Bookings | Waitlist promoted | A member was promoted from the waitlist to confirmed |
| Training | Training cancelled | A training session was cancelled |
| Training | Training reminder | Upcoming session reminder |
| Training | Training rescheduled | A session was moved to a different time or date |
| Training | Auto-cancel warning | A session may be cancelled due to low participation |
| Passes | Pass granted | A pass was granted to a member |
| Passes | Pass expiring soon | A pass is about to expire |
| Passes | Pass expired | A pass has expired |
| Passes | Pass sessions low | A pass has few remaining sessions |
| Passes | Pass session refunded | A session was refunded back to a pass |
| Passes | Pass requested | A member requested a pass (admin-facing) |
| Passes | Pass request rejected | A pass request was rejected (member-facing) |
| Members | Member invited | A new invitation was sent (admin-facing) |
| Members | Member joined | A new member joined the organization (admin-facing) |
| Members | Role changed | A member’s role was changed (admin-facing) |
Rent settings
Section titled “Rent settings”If your organization rents out spaces, you can configure the rental system here:
- Enable or disable the rent feature entirely (default: off). When off, the rent section is hidden from the admin panel and calendar. When on, admins can create space rentals that appear on the calendar alongside training sessions.
- Require prepayment (default: off): Only visible once rent is enabled. New rents are held as “Awaiting payment” until someone confirms the money arrived. The slot is reserved either way. Self-training slots are never held. Turn it on if your studio takes payment before the booking; leave it off and every rental is created as booked straight away. Full walkthrough: Rent Management.
- Default rent price: Set a fallback price used when no per-space price is configured. If no default is set either, the price must be specified manually on each rental.
- Per-space price overrides: Set custom default prices for individual spaces in the space management section. Price hierarchy: explicit rental price > space default > tenant default.
Permission overrides
Section titled “Permission overrides”While each role comes with a default set of permissions, you can fine-tune access for individual members:
- Grant additional permissions to a specific member beyond what their role normally allows. The member gains that capability immediately (on next login/token refresh).
- Revoke specific permissions from a member that their role would normally grant. The member loses that capability immediately.
This is useful when you need someone to have a particular capability without changing their entire role.
For adjusting the default permissions that apply to all members of a given role, see the role configuration section under system settings.